
Maxxair Roof Fan Install: Our Sprinter Van Build
November 9, 2026







Affiliate disclosure: As an Amazon Associate I earn from qualifying purchases. If you buy through our links, we may earn a small commission at no extra cost to you. We only recommend gear and products we personally use and trust.
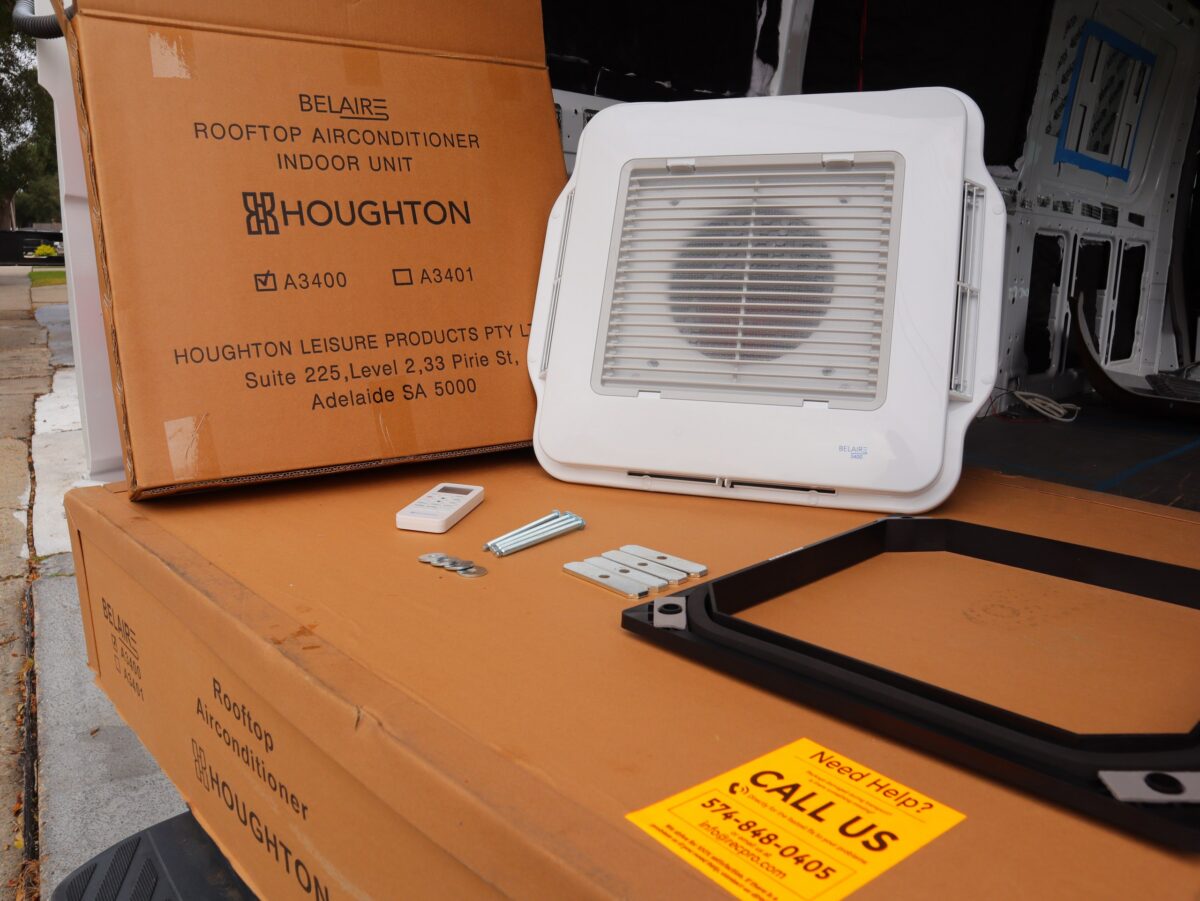
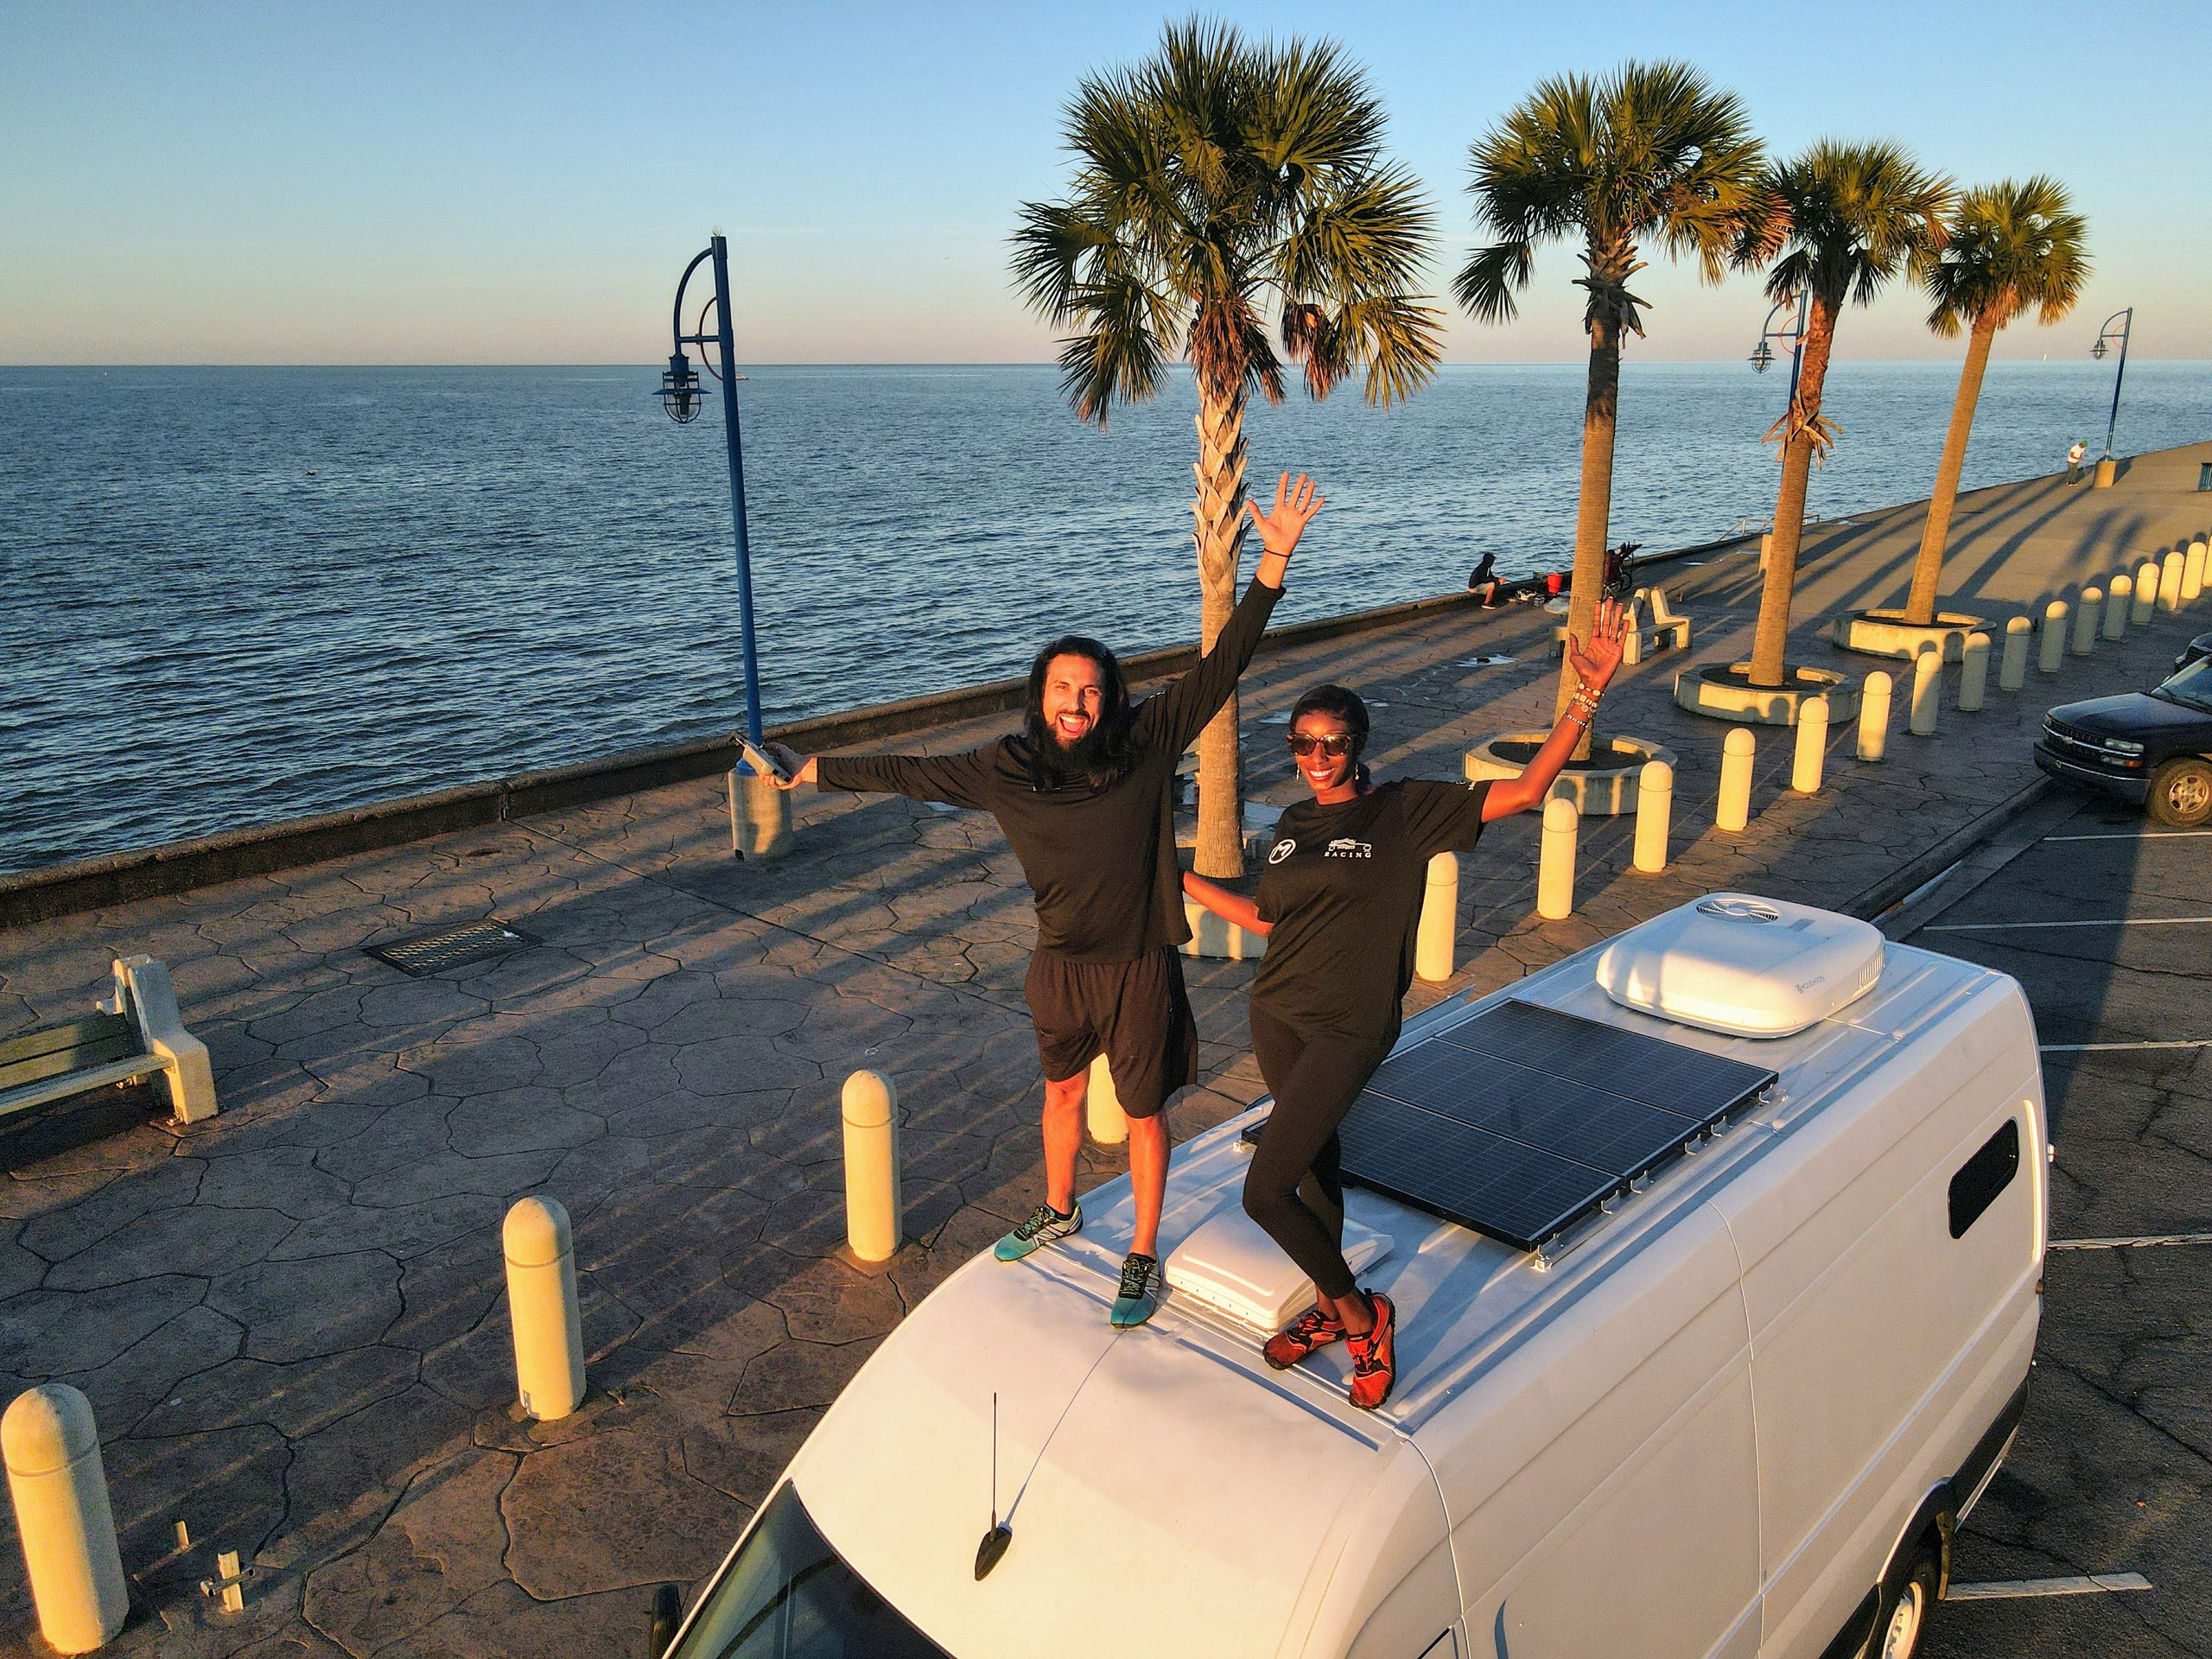
Installing a rooftop air conditioner on our Sprinter van was a significant task that took us three full days to complete. Since RecPro sent us this unit to install on our roof, we wanted to ensure everything was done correctly. Although we are not professionals by any means, this heavy unit required us to move carefully to avoid errors. The whole job took three days because we prioritized doing the work correctly rather than rushing through the steps. We documented the process so you could see how we approached this project on our own build.
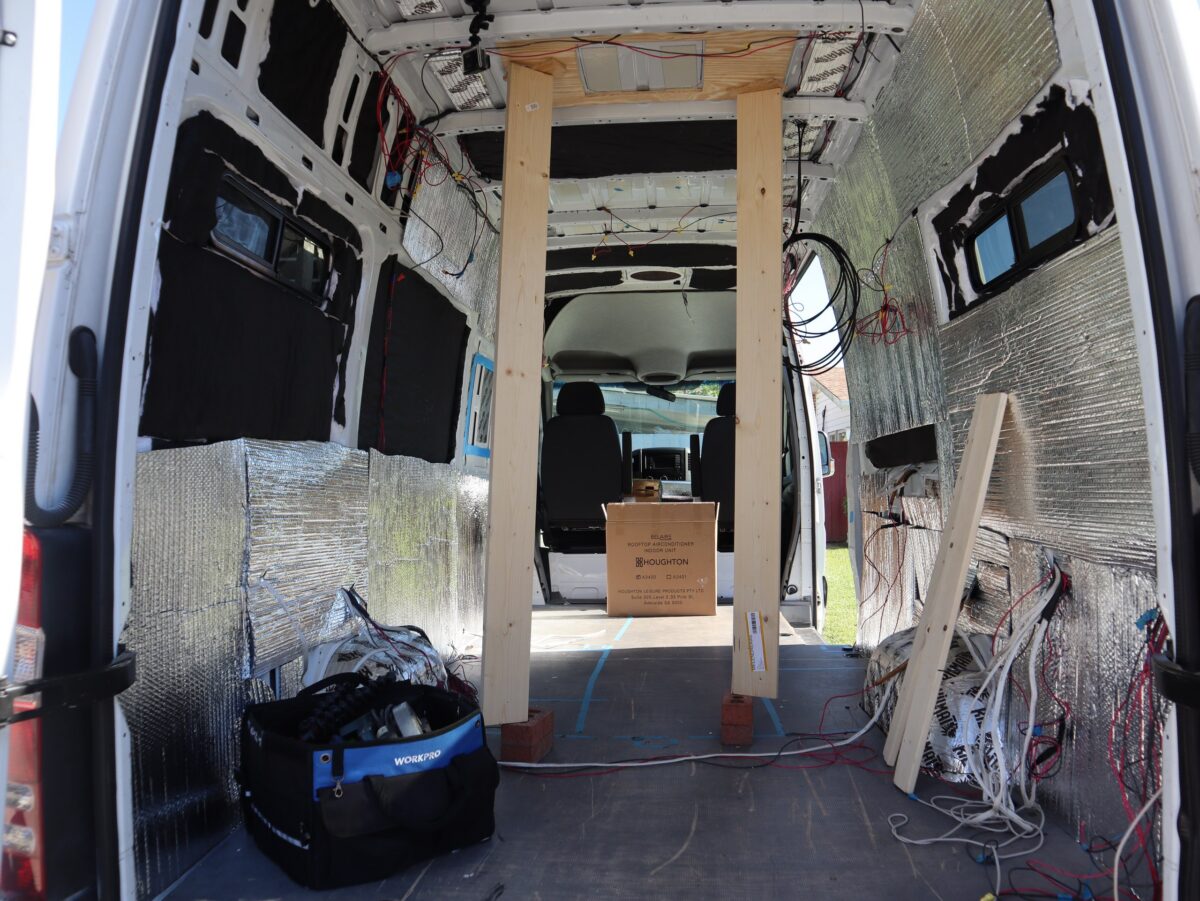
To start, we created a mounting structure to hold the weight of the air conditioner. Because the roof required reinforcement to handle the 100-pound unit, we measured approximately 19 and a half inches between the roof ribs for our frame. We built a plywood brace between the roof ribs to hold the weight. Next, we glued the plywood frame with Liquid Nails to the ceiling. Initially, we thought the adhesive would hold it securely while it dried overnight, but the glued wood frame fell down because we did not use enough Liquid Nails. After this happened, we had to restart that part of the process the next morning to ensure the support was solid enough to hold the weight of the unit once installed. This tedious effort took time, but it was necessary for a secure mount.
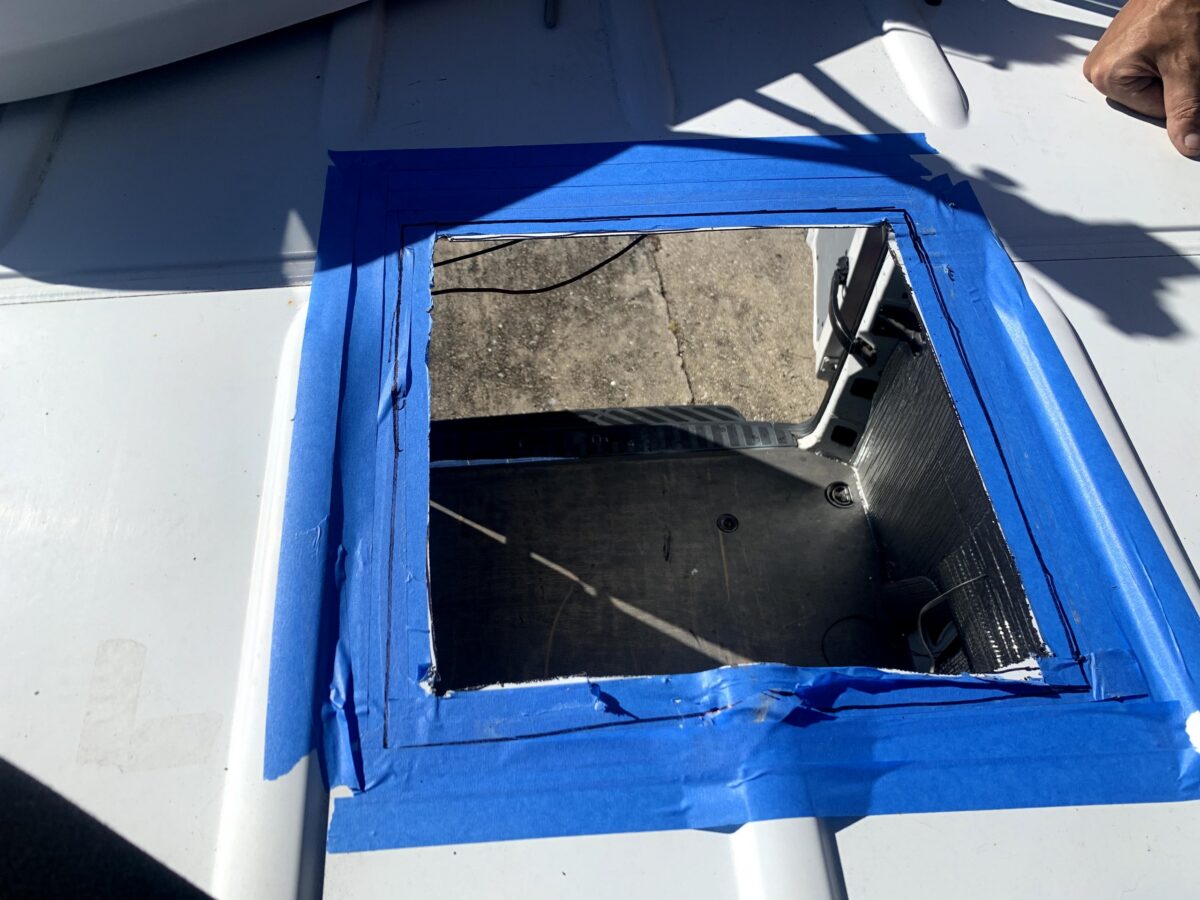
Once we returned to the project on the second day, we focused on the roof opening. Because we wanted to be sure of our dimensions before making any permanent changes to the metal, we were careful with our measurements. The roof opening is 14 by 14 inches, the same cut as our Maxxair fan. Before cutting, we protected the metal by applying blue painter’s tape to the area.
Eventually, we put blue tape around the square before cutting, the same way we did for the Maxxair fan. Next, we needed to locate our cuts precisely on the roof. We used drill bits to create four pilot holes, one in each corner of our 14-by-14-inch square to act as a guide. These drill bits are for the four pilot holes, one in each corner of the 14 by 14 square on the roof.
With the pilot holes finished, it was time to cut the metal. We used our jigsaw to follow the lines we had drawn between the pilot holes, and we also started the cuts in the plywood frame with a pilot hole and the jigsaw.
After drilling pilot holes we cut the hole in the roof with the jigsaw; we also started the cuts in the plywood frame with a pilot hole and the jigsaw. After making the cut, we dealt with a lot of metal scrap that was left on the roof. We were proactive and cleared this off to prevent rust before it could settle. After the cut, we took the blue tape off and filed down the rough edges of the hole to ensure they were smooth. After the cut we took the blue tape off and filed down the rough edges of the hole.
Exposed metal can lead to rust if left untreated, so we applied Rust-Oleum to the cut edges to protect them. Once the paint was dry, we prepared the surface for the unit. We used butyl tape to build up the perimeter of the hole so it sat at the same height as the roof rib and the unit would lie flush.
We used butyl tape to build up the perimeter of the hole so it sat at the same height as the roof rib and the unit would lie flush. Finally, we applied waterproof caulk to the interior edges to prevent leaks. We put a little silicone on the inside edges to seal them. The instructions say to keep sealant out of the bolt holes, so only the edges got it.
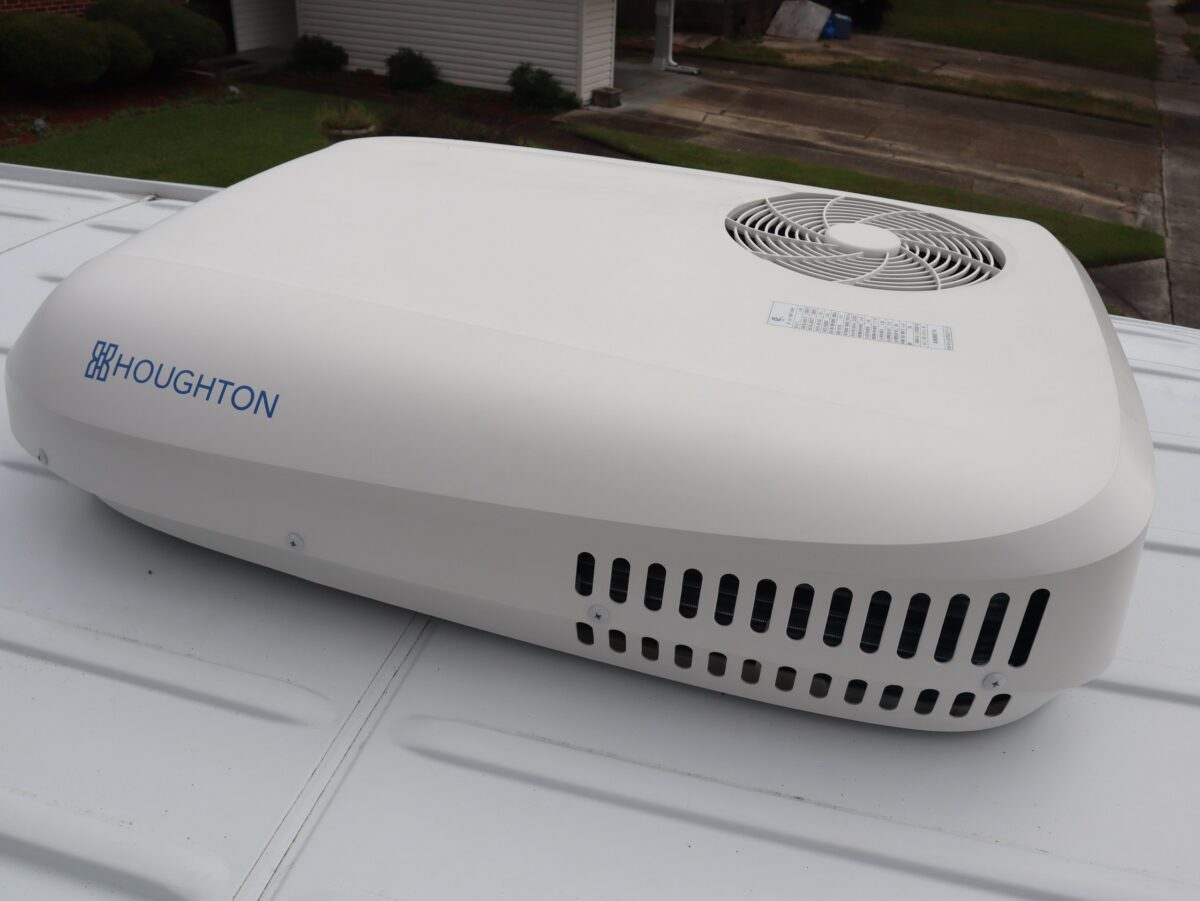
Mounting the unit on the roof was the most critical step of the project. Carefully, we placed the unit over our prepared opening. Inside the van, we secured the mounting bolts. We tightened the bolts by hand, not with a drill, because we did not want to damage the threads. This methodical approach ensured the unit was seated securely without risking over-tightening. It was a tedious process, but it was essential to complete the installation successfully. After three long days of work, we finally got the AC installed and ready to go. What is the most challenging DIY project you have undertaken on your own van build?
Related reading: