
Sprinter Van Subfloor Installation & Floor Insulation
October 12, 2026




Affiliate disclosure: As an Amazon Associate I earn from qualifying purchases. If you buy through our links, we may earn a small commission at no extra cost to you. We only recommend gear and products we personally use and trust.
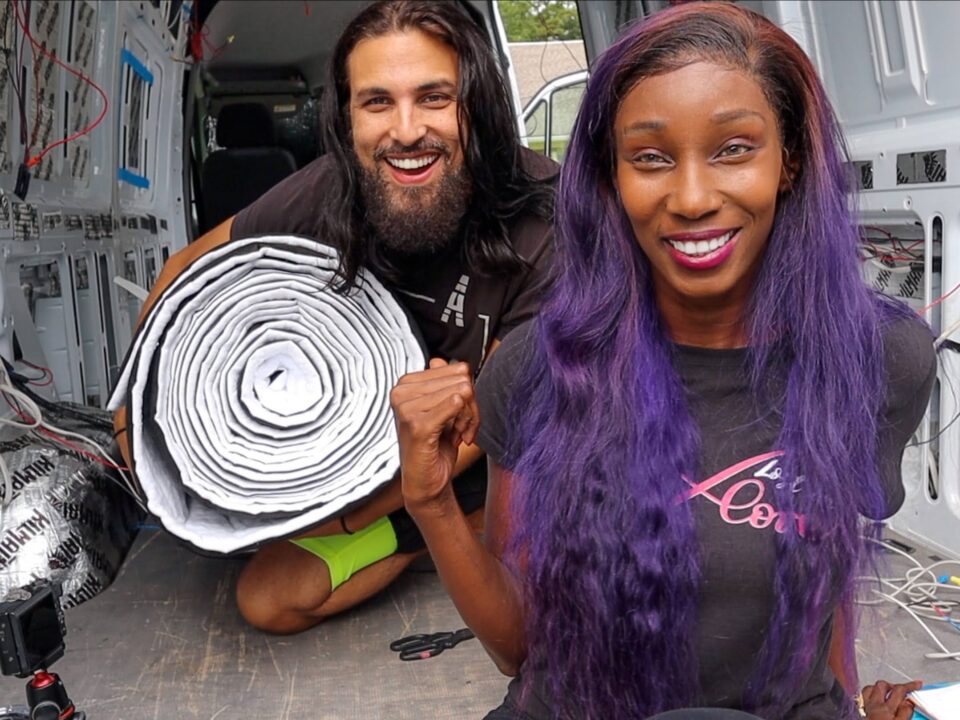
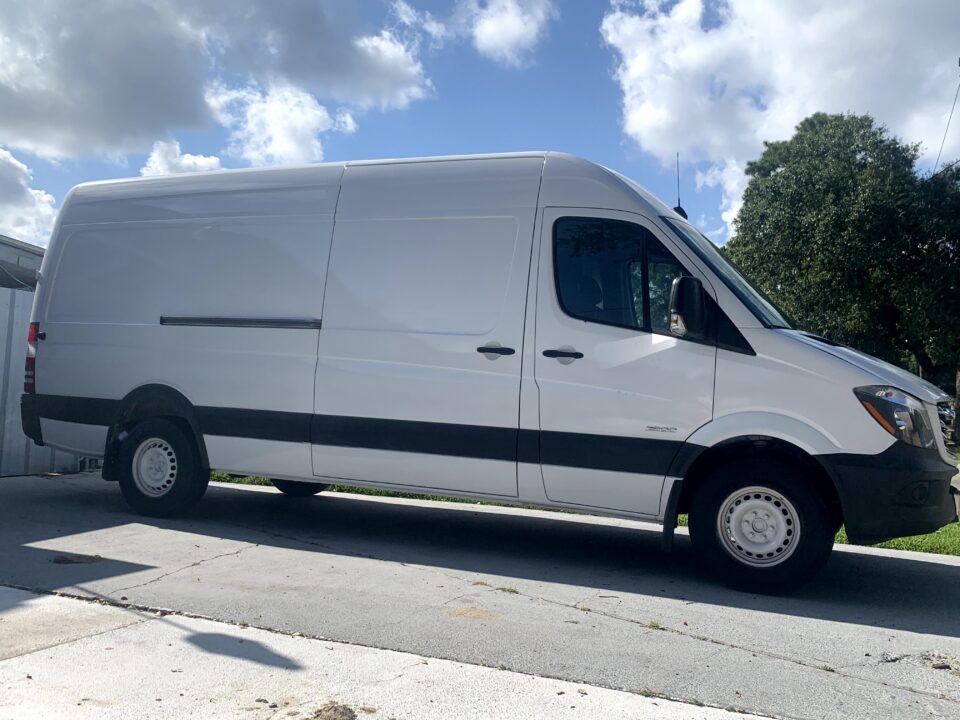
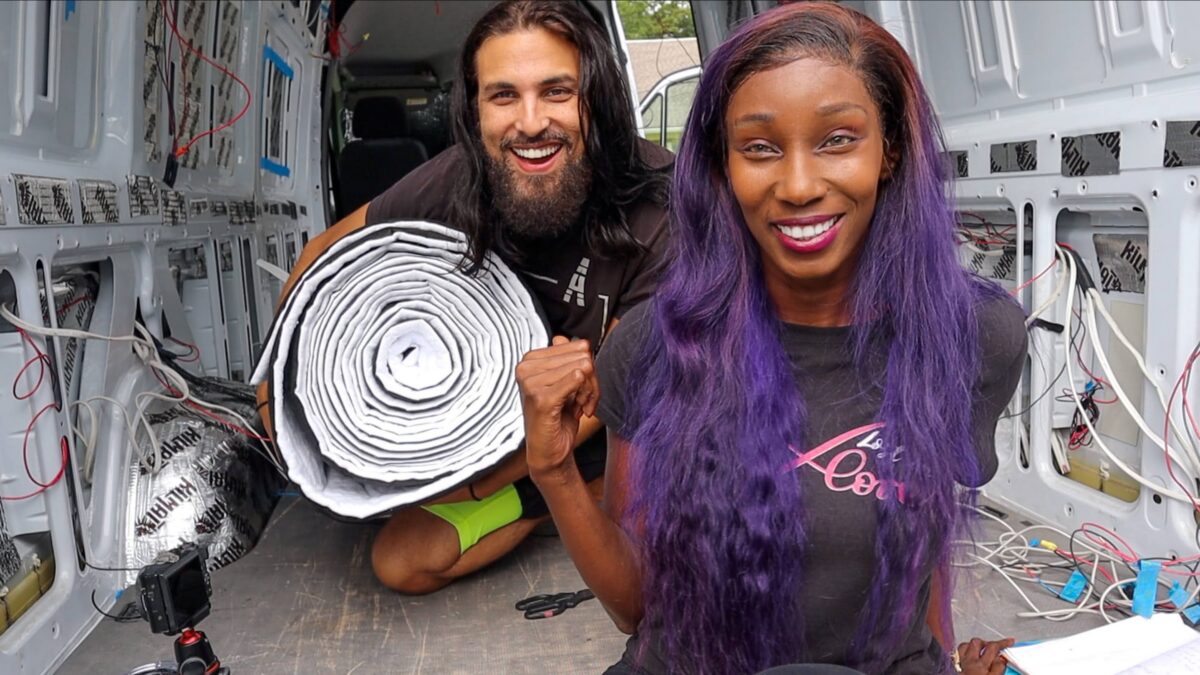
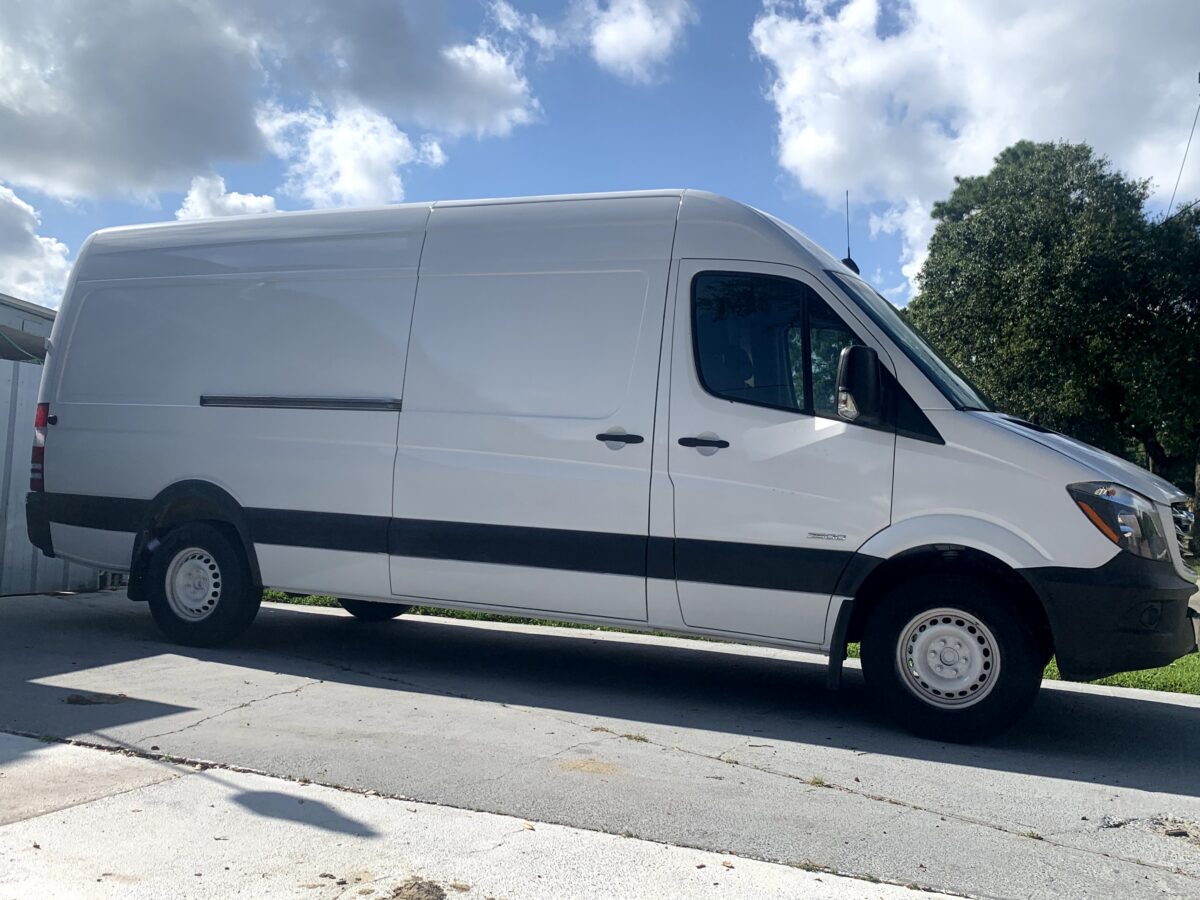
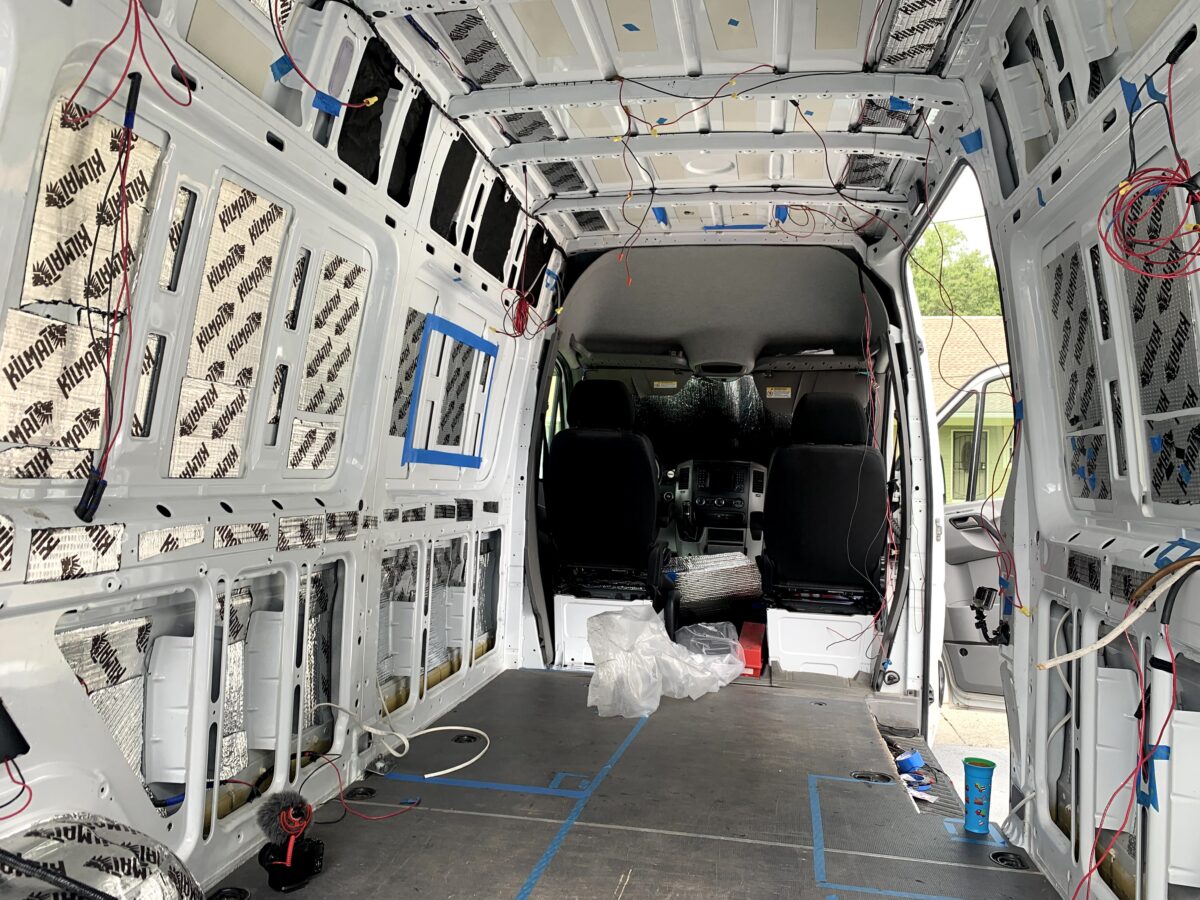
Welcome back to the van build! We have finally finished running all of our electrical wires, which means it is officially time for the next massive project. Today, we are focusing entirely on our camper van wall insulation.
Living in a metal box means you constantly battle extreme temperatures. Proper insulation is absolutely critical for staying warm during the winter and cool during the summer. We are incredibly excited to start stuffing the walls and turning this cargo van into a cozy home.
There are several ways to insulate a van. Many people use spray foam, foam board, or traditional fiberglass house insulation. However, we decided to use natural wool for our camper van wall insulation.
Why wool? First, we believe it is significantly safer to work with than traditional fiberglass. Fiberglass insulation is notoriously harmful to the environment and can irritate your skin and lungs during installation.
More importantly, natural wool is incredibly fireproof. When you are living in a tiny wooden box on wheels, using fire-resistant materials is a massive priority. Furthermore, wool handles moisture exceptionally well. If it gets wet from condensation inside the van walls, it naturally dries out much quicker than other materials. Yes, wool is slightly more expensive, but the safety and environmental benefits make it completely worth the investment.
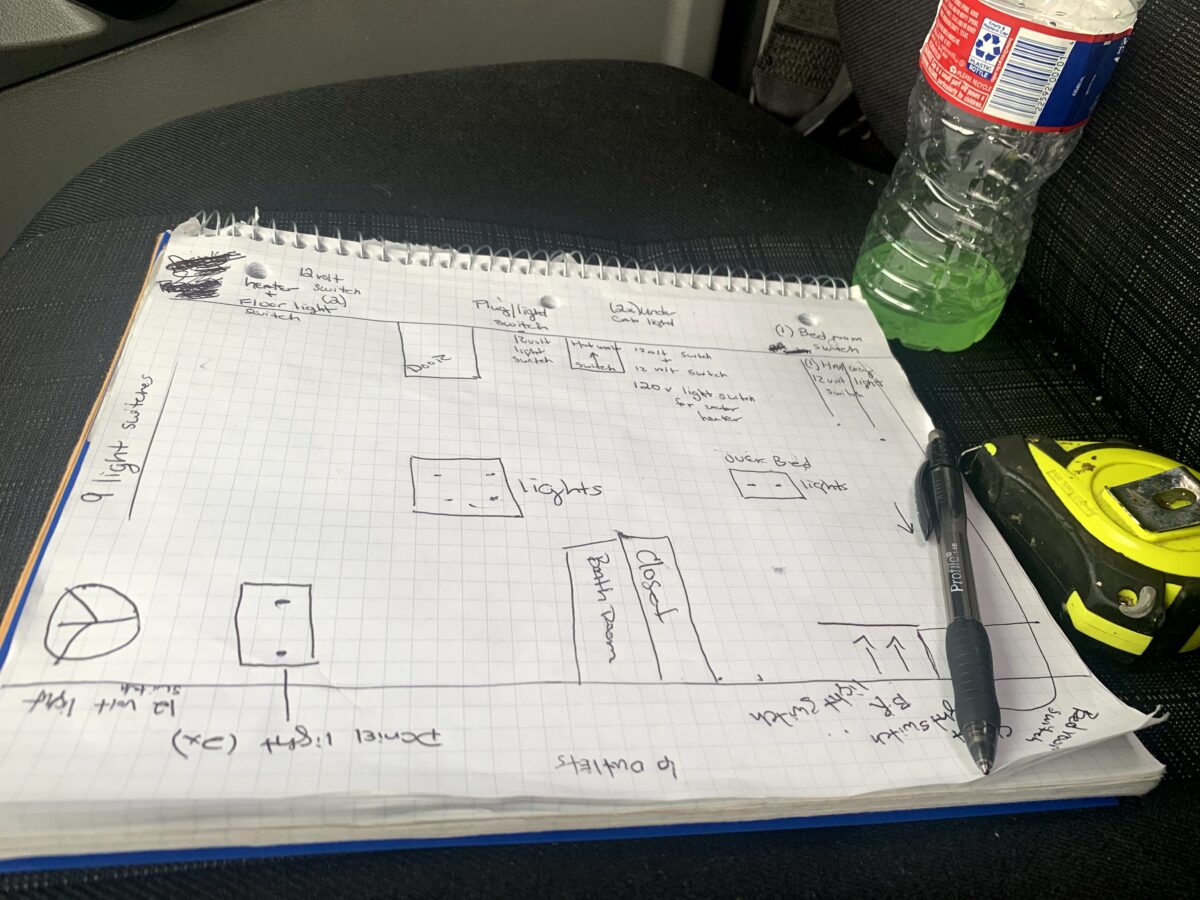
Before you open any bags of insulation, you need to measure your entire van. We grabbed a pen and paper and methodically measured every single cavity inside the metal ribs.
Taking accurate measurements beforehand saves you a massive amount of time. It allows you to know exactly how much material you need to cut before you even pick up your scissors. Also, it is crucial to note that we are intentionally waiting to insulate the ceiling until after we cut the metal holes for our roof fan and side windows.
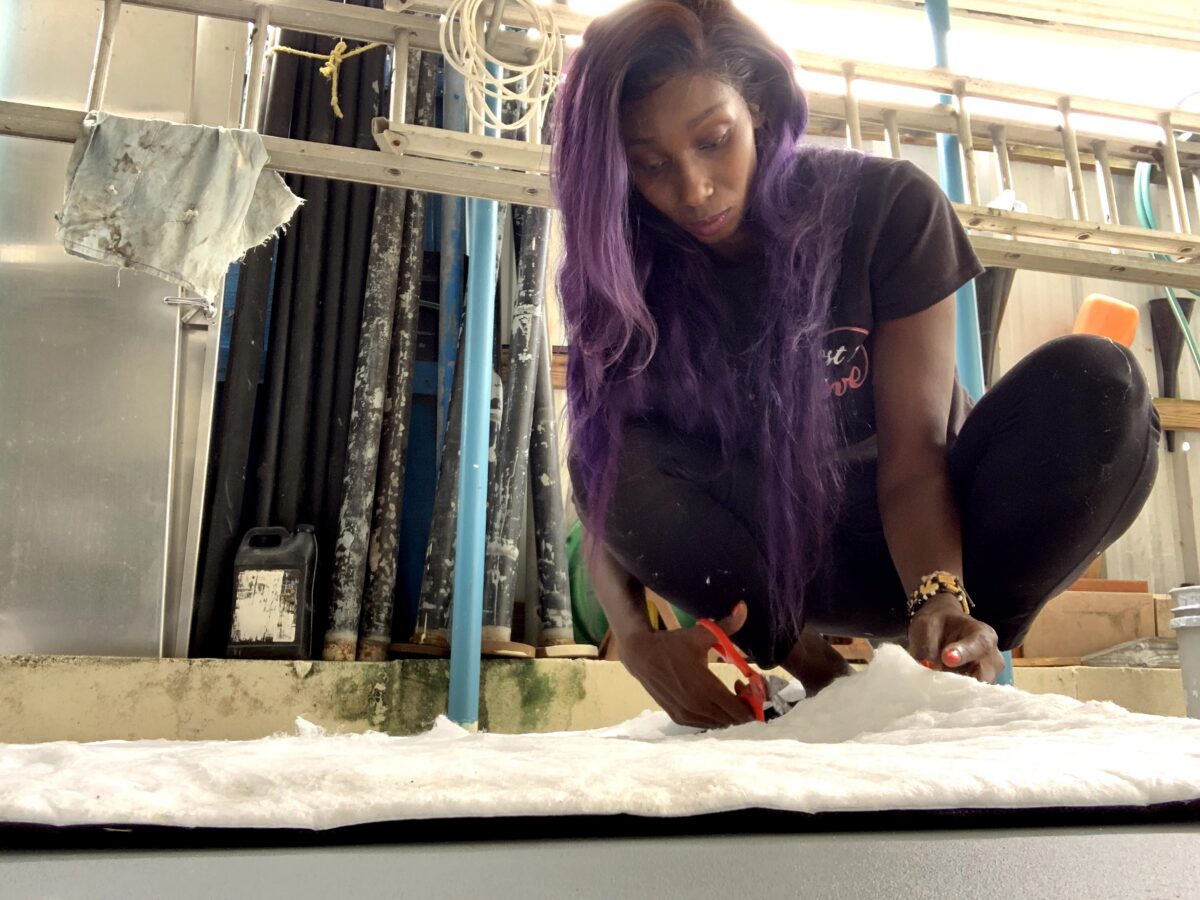
To install the wool, we used industrial scissors and several cans of 3M 90 spray adhesive. Because the sheets of wool are so massive, we had to take the rolls outside the van to measure and cut them properly.
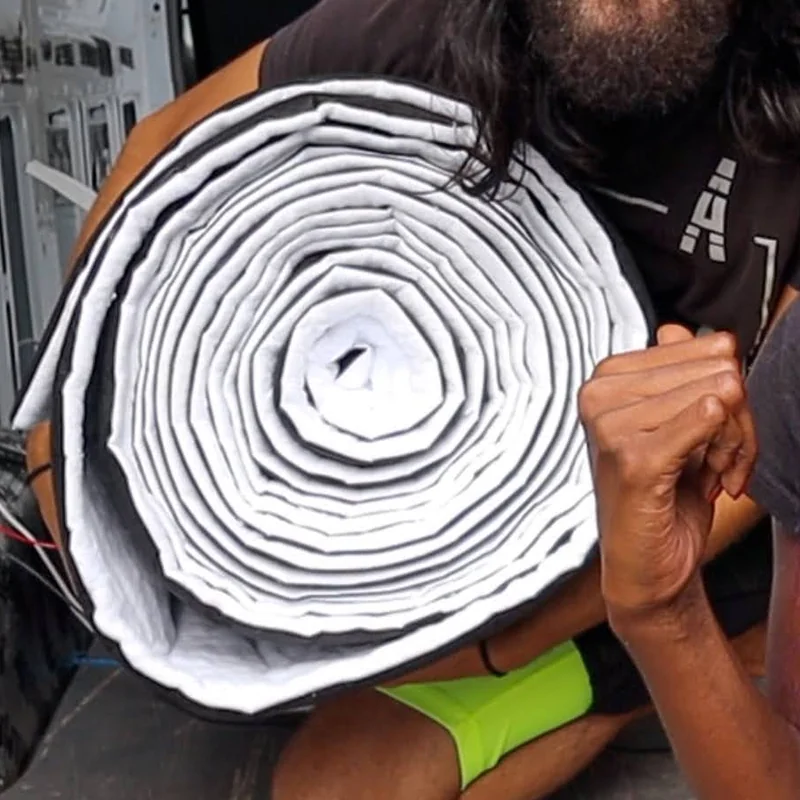
The wool we used features thick natural fibers on one side and a thin black covering on the back. We sprayed a heavy coat of the 3M 90 adhesive directly onto the black side. We let the glue sit for a minute until it became slightly tacky, and then we firmly pressed the wool directly against the metal van walls.
Installing the panels felt exactly like putting together a fuzzy puzzle. For the lower wall cavities, we cut the sheets to roughly 28 inches tall by 16 inches wide. We started on the left side of the van and worked our way across the bottom row.
Even with careful measurements, you will inevitably have to make adjustments on the fly. As we were installing a 28-inch tall piece of wool, we realized a small metal bracket inside the wall was blocking the sheet from reaching the very top.
Instead of forcing it, we grabbed our scissors and carefully trimmed a notch out of the wool. This minor adjustment allowed the insulation to wrap perfectly around the bracket and completely fill the empty space behind it.
Remember the golden rule of any DIY build: measure twice, cut once! It is always better to cut your pieces slightly larger than necessary. You can always trim the excess or stuff the extra wool firmly into the crevices, but it is much harder to fix a piece that is cut too short.
Vans are full of weird, tiny metal holes and hollow support ribs that need insulation. Shoving fluffy wool through a tiny opening with your fingers is incredibly frustrating.
To solve this, we used a clever trick. We tore a small hole in a scrap piece of wool and tied a long string securely through it (we actually had to use fishing line because we didn’t have string, but normal string works best). We then fed the string through the metal cavity and used it to actively pull the chunk of wool deep inside the hollow rib. It worked perfectly!
Working with wool is incredibly messy. By the end of the day, we were absolutely covered in tiny, fuzzy fibers from head to toe.
However, the progress was incredibly satisfying. The left side of the van took us roughly an hour to complete because we were learning the process. Conversely, the right side went significantly faster because we had dialed in our technique. We successfully insulated the top and bottom rows on both sides, and we even cut our massive 49-inch by 27-inch pieces for the large side panels.
We still have to insulate the rear wheel wells and the ceiling, but we are saving those for a future day. For now, our camper van wall insulation is looking absolutely fantastic!
Let us know what you think of our progress in the comments below. Be sure to subscribe and follow along as we continue building our tiny home on wheels!