
How To Find The Right Van For Van Life: Our Journey in Phoenix
September 18, 2026
Sprinter Van Floor Removal & Rust Treatment
September 21, 2026Affiliate disclosure: As an Amazon Associate I earn from qualifying purchases. If you buy through our links, we may earn a small commission at no extra cost to you. We only recommend gear and products we personally use and trust.
Sprinter Side Panel Removal Sealing Leaks & Rust Treatment
Welcome back to day two of our DIY van build! Today, we are tackling a major exterior project on our Sprinter van. If you look closely inside the cargo area, you might notice water dripping down near the plastic pegs that hold the exterior trim. Consequently, we need to stop those leaks before they cause permanent rust damage. To do this properly, we have to perform a complete Sprinter side panel removal.
We are going to pull off the exterior trim, seal the plastic pegs with silicone, treat any rust we find, and snap the panels right back into place. Let’s get to work!

Prepping for the Sprinter Side Panel Removal
Before we started pulling off plastic trim, we needed a clean workspace. First, we grabbed a mild detergent to gently wash the exterior. Cleaning the van ensures no dirt or grime gets trapped under the panels when we put them back on.
Initially, Faustino felt a bit skeptical about this whole Sprinter side panel removal project. Working with old plastic clips can be incredibly tedious. If you pull too hard, you risk snapping the delicate plastic pegs. However, we knew we had to fix these water leaks to protect our future insulation and walls.

How to Remove the Exterior Pegs Safely
We quickly learned that the safest way to remove the plastic pegs is from the outside of the van. Some of the pegs are completely hidden from the inside, so you have to pop them out externally anyway.
For our Sprinter side panel removal, we used a very specific set of tools. We grabbed a flathead screwdriver, a soft cloth, and a pair of pliers. We wrapped the cloth tightly around the screwdriver to prevent scratching the van’s paint. Then, we carefully popped off the front cover of the panel. Next, we used the pliers to squeeze the back of the pegs and pop them right out.
It took us a solid 30 minutes to remove all the pegs on the passenger side. Since it was our first time, we moved very slowly to avoid breaking anything.
Next, we tackled the bulky partition separating the cab from the cargo area. Initially, we lacked the correct tool to remove it, which forced a brief pause in our momentum. Once Faustino tracked down the right piece, we took the makeshift wall down effortlessly. Now, the inside of the van finally looked wide open and ready for the main event.
Treating Rust During the Sprinter Side Panel Removal
Once we successfully removed the panels, we immediately noticed some rust forming around the exposed peg holes. Therefore, before we could seal anything up, we had to treat the bare metal.
We grabbed our trusty Rust-Oleum spray paint to coat the holes. However, we quickly realized we made a rookie mistake. The spray paint started dripping down the side of the van! We had to scramble to grab a clean rag to wipe the excess paint off our factory finish. If you attempt this project, always keep a rag handy!
We also made sure to throw a painter’s blanket over our front cab seats. The spray primer has a tendency to blow backward, and we definitely did not want white paint settling all over our interior.
Sealing the Pegs and Reattaching the Panels
After the rust treatment dried completely, it was time to finally stop the water leaks. We pushed the plastic pegs back into the exterior panel. Thankfully, popping them back into the trim piece was super easy.
Next, we grabbed a tube of natural-based silicone. We carefully applied a thick ring of silicone completely around the base of each peg. This creates a watertight seal against the metal body of the van, ensuring rain can no longer drip inside.
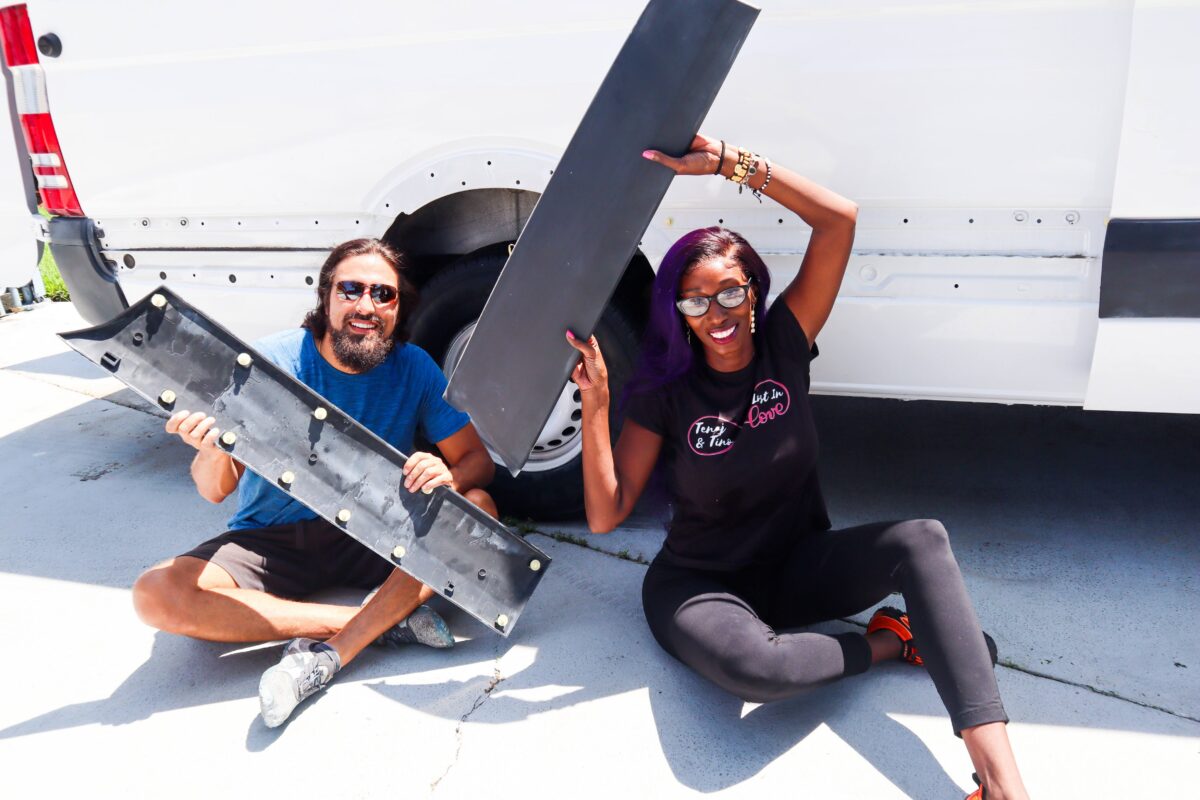
Temperature was 98 degrees outside…

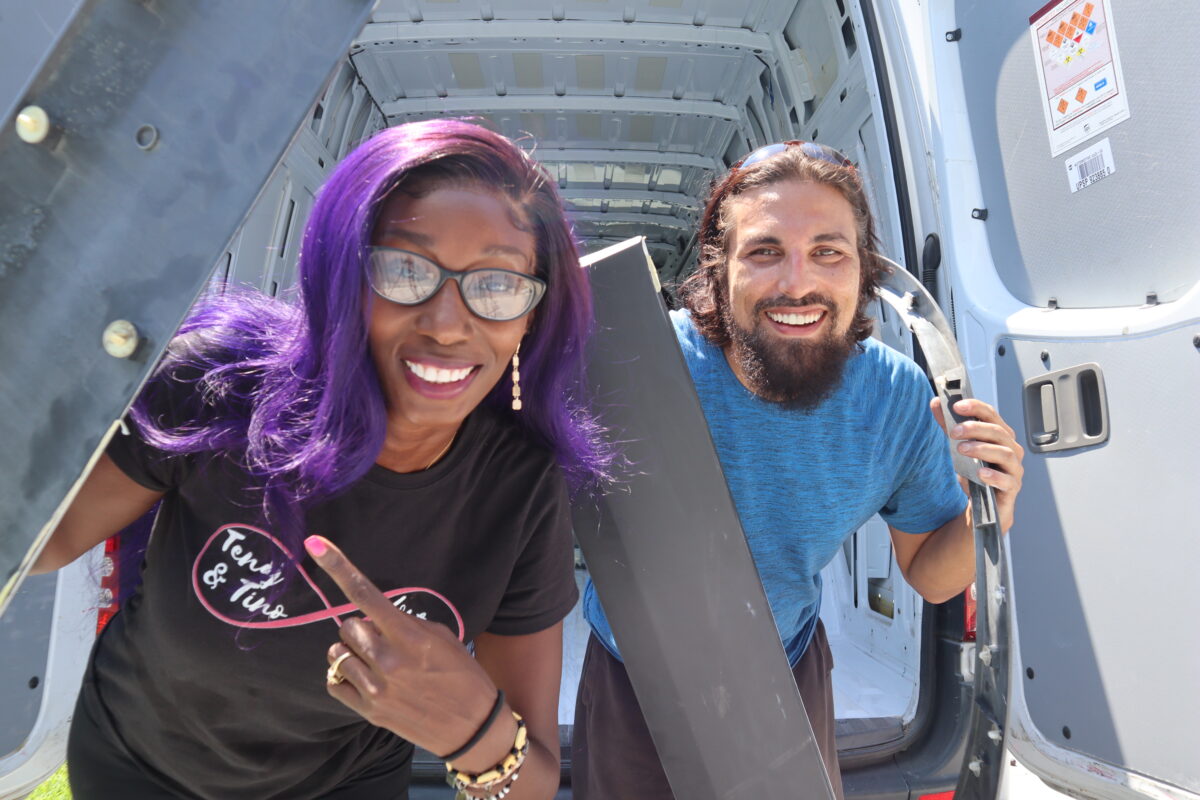

The Wheel Well Surprise
While we were working through our Sprinter side panel removal, we hit a small snag near the rear wheel well. As we tried to remove the panel covering the wheel arch, we discovered a hidden 7/16-inch bolt holding it in place.
You have to pull this bolt out from the bottom. Also, make sure you hold the nut on the inside securely, or the bolt will just spin endlessly in place. Once we figured out that little trick, the wheel well panel popped right off.
Wrapping Up Day Two of the Build
We started this project around noon, and we officially wrapped up at 3:30 PM. It ended up being a fairly short workday, but we learned a massive amount.
The passenger side took us about an hour and a half because we were being extra careful. However, once we figured out the technique, the driver’s side went incredibly fast. In fact, it only took us about 15 to 30 minutes to pop pop pop those panels right off!
If you plan to tackle this project yourself, definitely invest in some plastic auto body pry tools. They will save you a lot of time and prevent you from scratching your paint.
Hopefully, some more of our van build packages will arrive in the mail today so we can keep this momentum going tomorrow. Be sure to subscribe to follow along with our complete build journey!
Follow us for more or please share with a friend!