
Camper Van Wall Insulation: Cozy Comfort in Cold Weather
October 18, 2026
Installing Bunk Slider Windows: Our Camper Van Experience
November 2, 2026



Affiliate disclosure: As an Amazon Associate I earn from qualifying purchases. If you buy through our links, we may earn a small commission at no extra cost to you. We only recommend gear and products we personally use and trust.
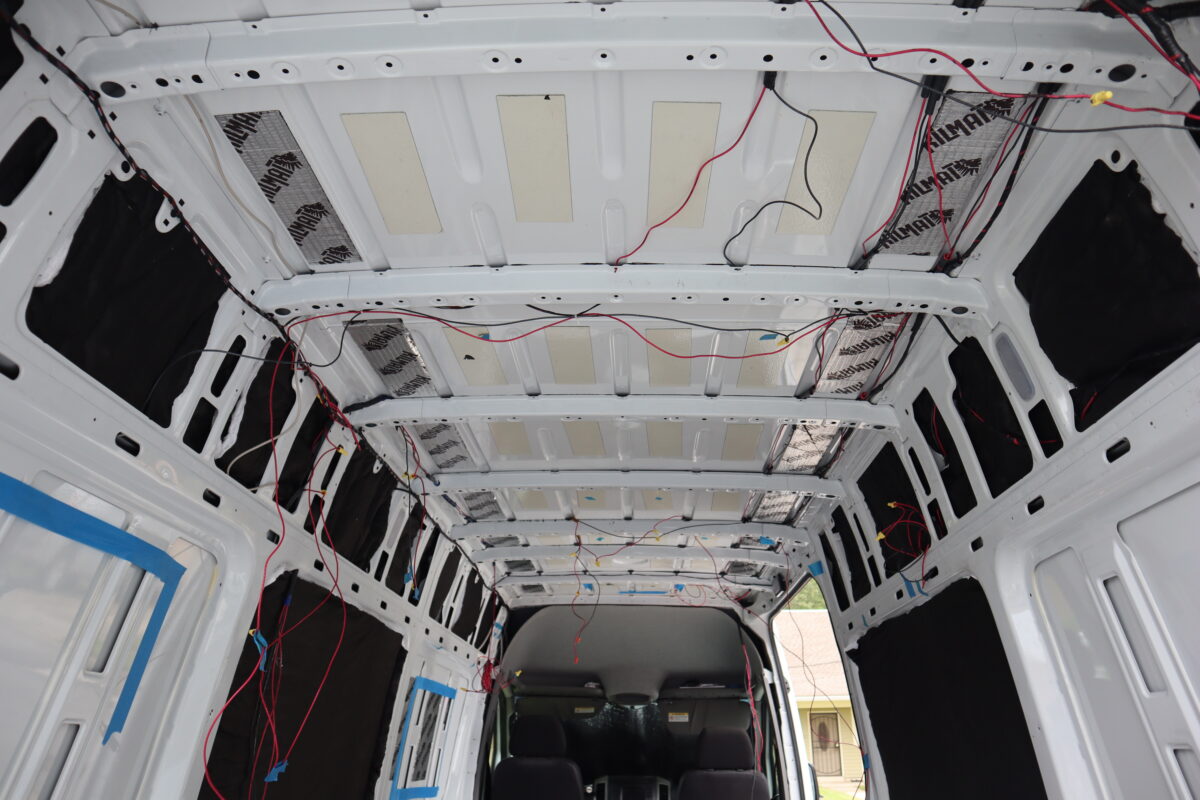
Welcome back to the van build! Many of you have been asking exactly who is going to handle the electricity and wiring for our new tiny home. The answer is simple: we are doing it ourselves! After consuming tons of videos and graduating from “YouTube University,” we decided to tackle our own DIY van electrical wiring.
At first glance, staring at massive piles of cables feels incredibly overwhelming. However, if you break the system down step-by-step, running your 12-volt and 120-volt wiring is actually very manageable. Today, we are walking you through our entire pre-wire process!
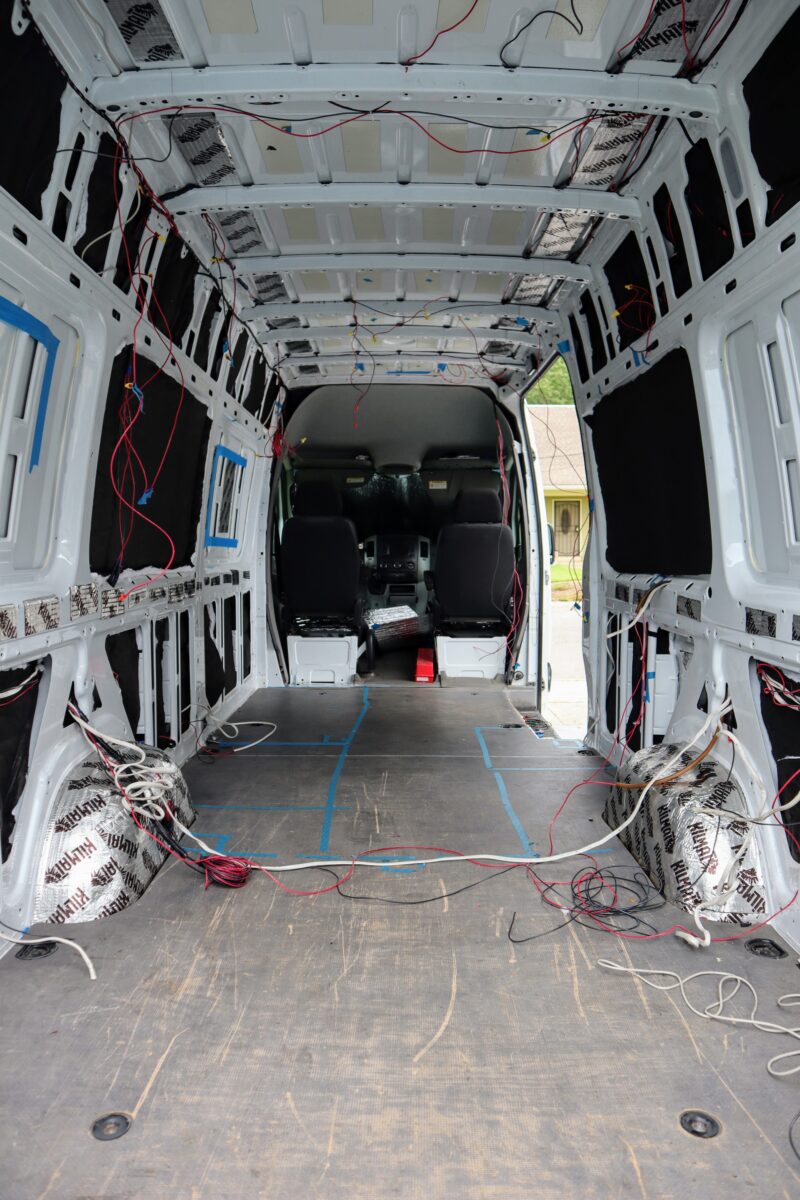
Before you cut a single expensive cable, you absolutely must know where every outlet and light will go. Consequently, we walked through the empty van and physically labeled the future locations of our refrigerator, lights, and wall plugs.
Our electrical system is quite large. We are actively wiring for twelve LED lights, two Maxxair ceiling fans, a water pump, a water heater, a Nature’s Head toilet vent, and roughly five 120-volt power outlets.
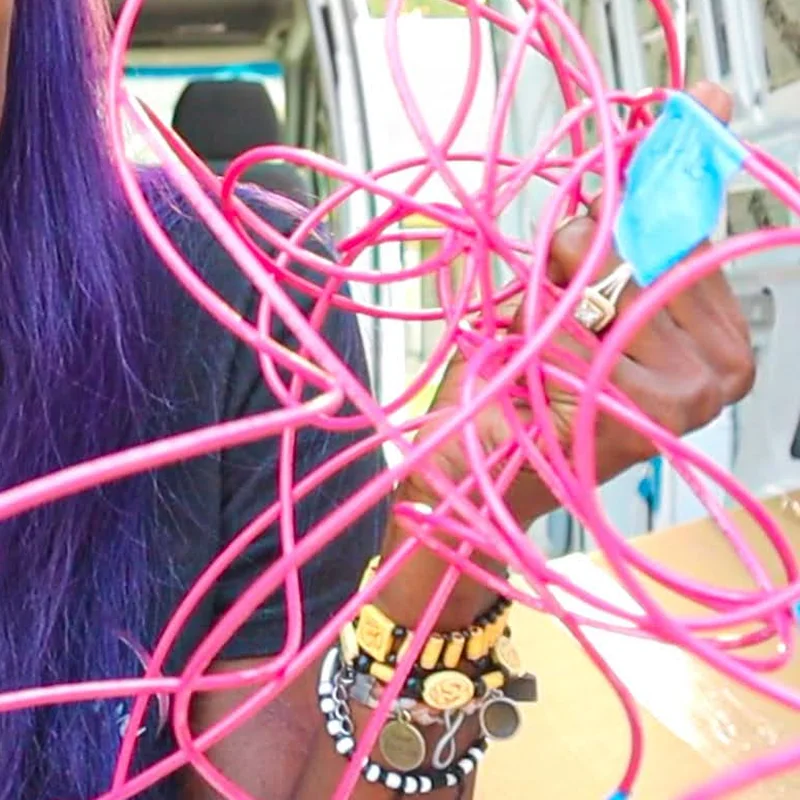
Because running multiple thick cables gets confusing, we highly recommend a brilliant trick. You should buy rolls of red and blue yarn. Before you begin your actual DIY van electrical wiring, string the cheap yarn from your appliance location directly back to your battery bank. This gives you a perfect visual representation of the wire path and prevents you from making expensive mistakes.
When we finally started running the real cables, we immediately hit a funny roadblock. We did not own a proper wire spool holder, so we had to build our own using a stick and a chair. It looked completely ridiculous, but it gave us the movement we needed to unroll the cables without tangling them.
For our system, we are using specific wire gauges. Initially, we purchased 100 feet of stranded 12-gauge wire. However, we quickly realized we needed significantly more material. Ultimately, we bought and routed over 300 feet of red and black 12-volt cables throughout the van!
We also utilized a heavy-duty 14-gauge wire. This specific wire features a thick outer casing that safely houses both the red and black strands inside.
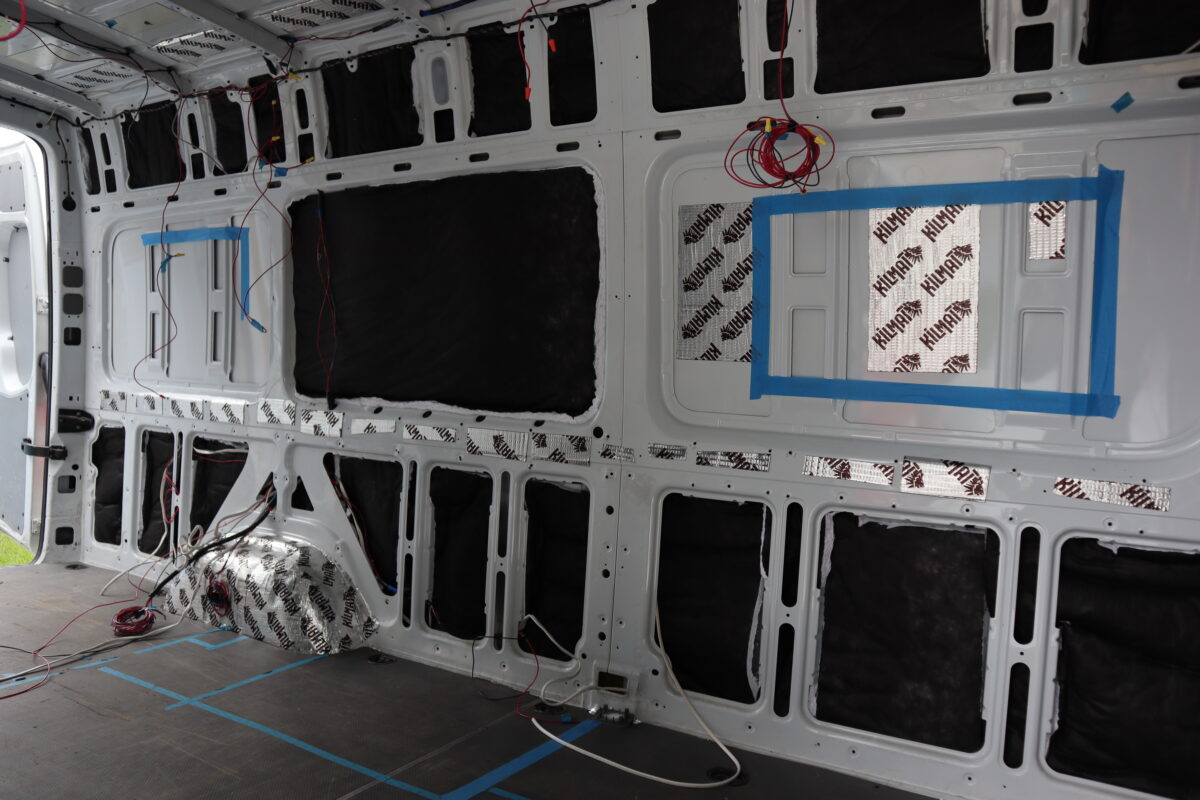
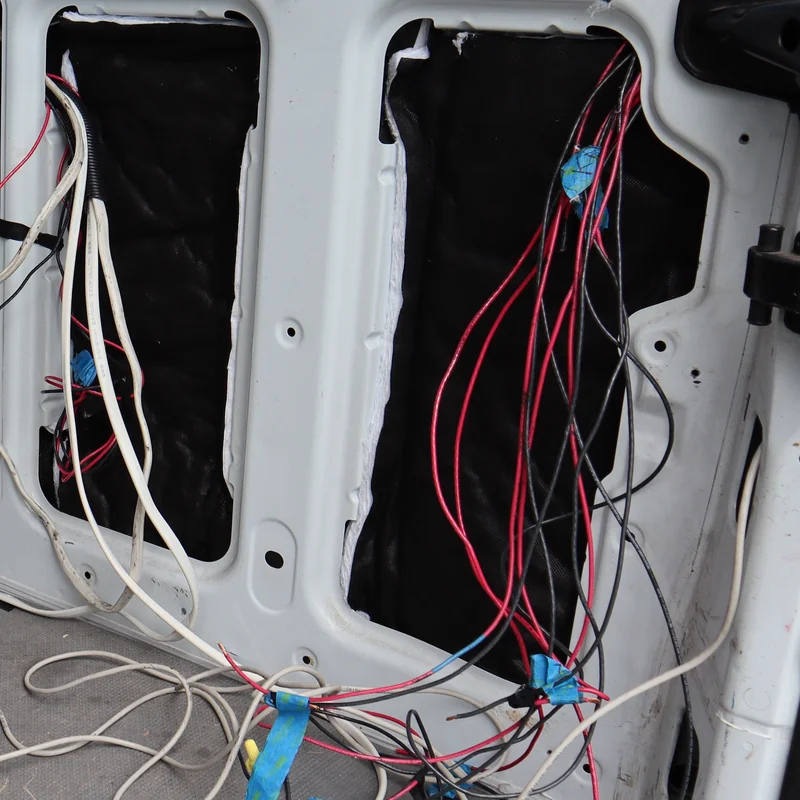
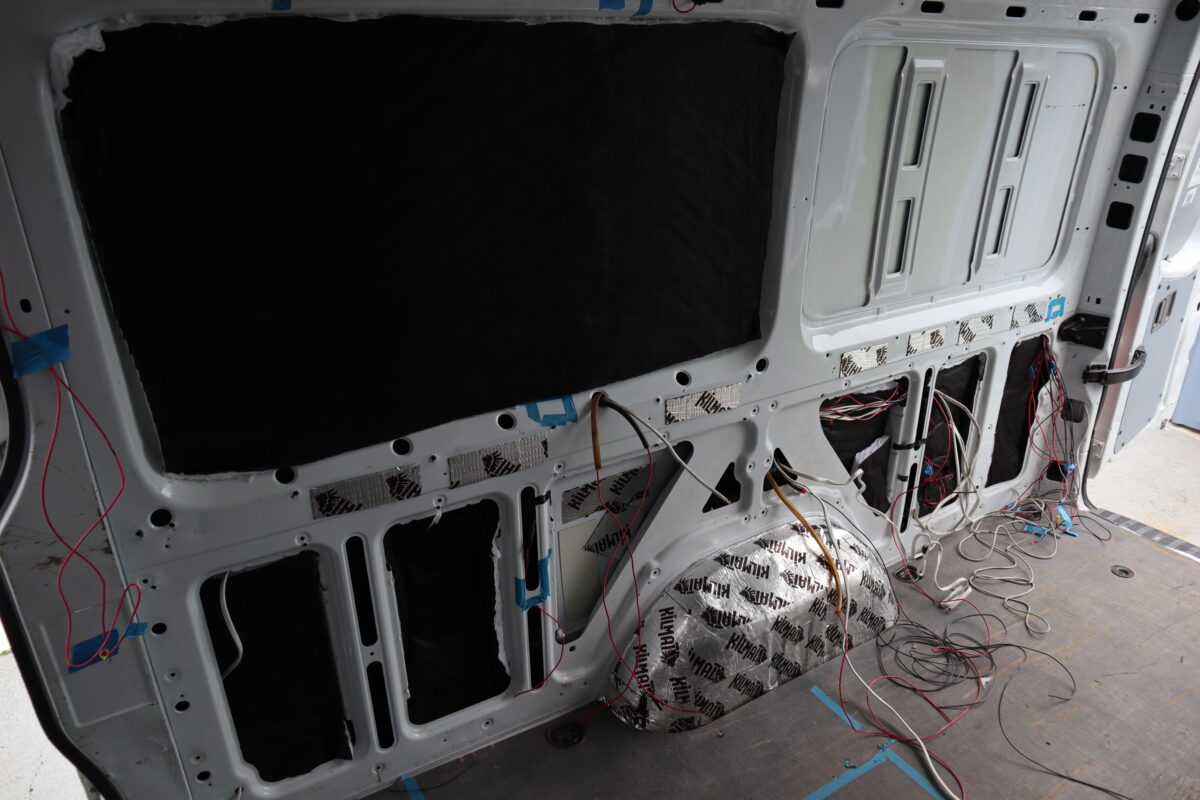
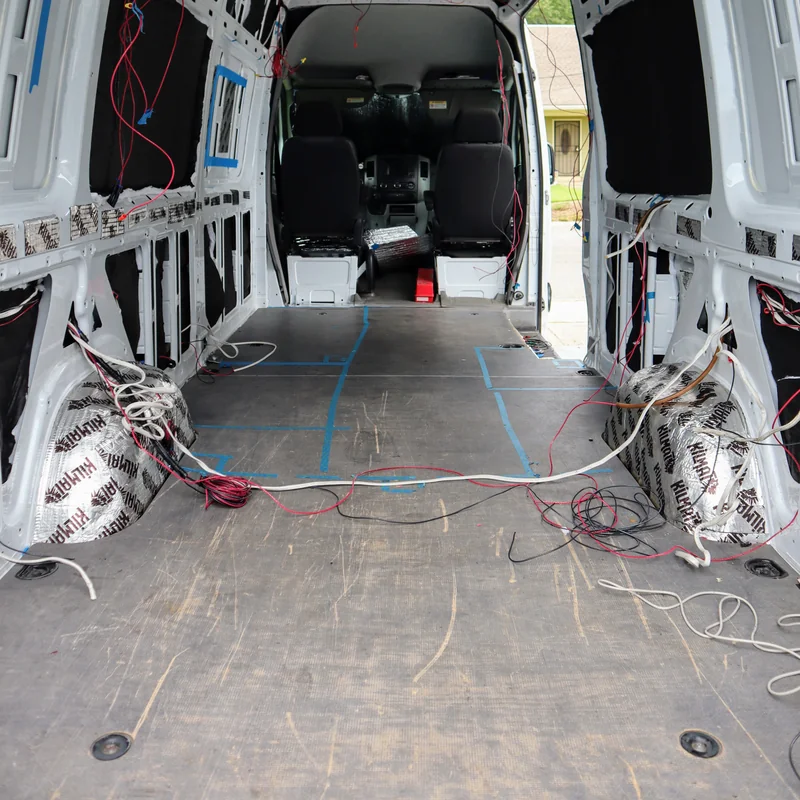
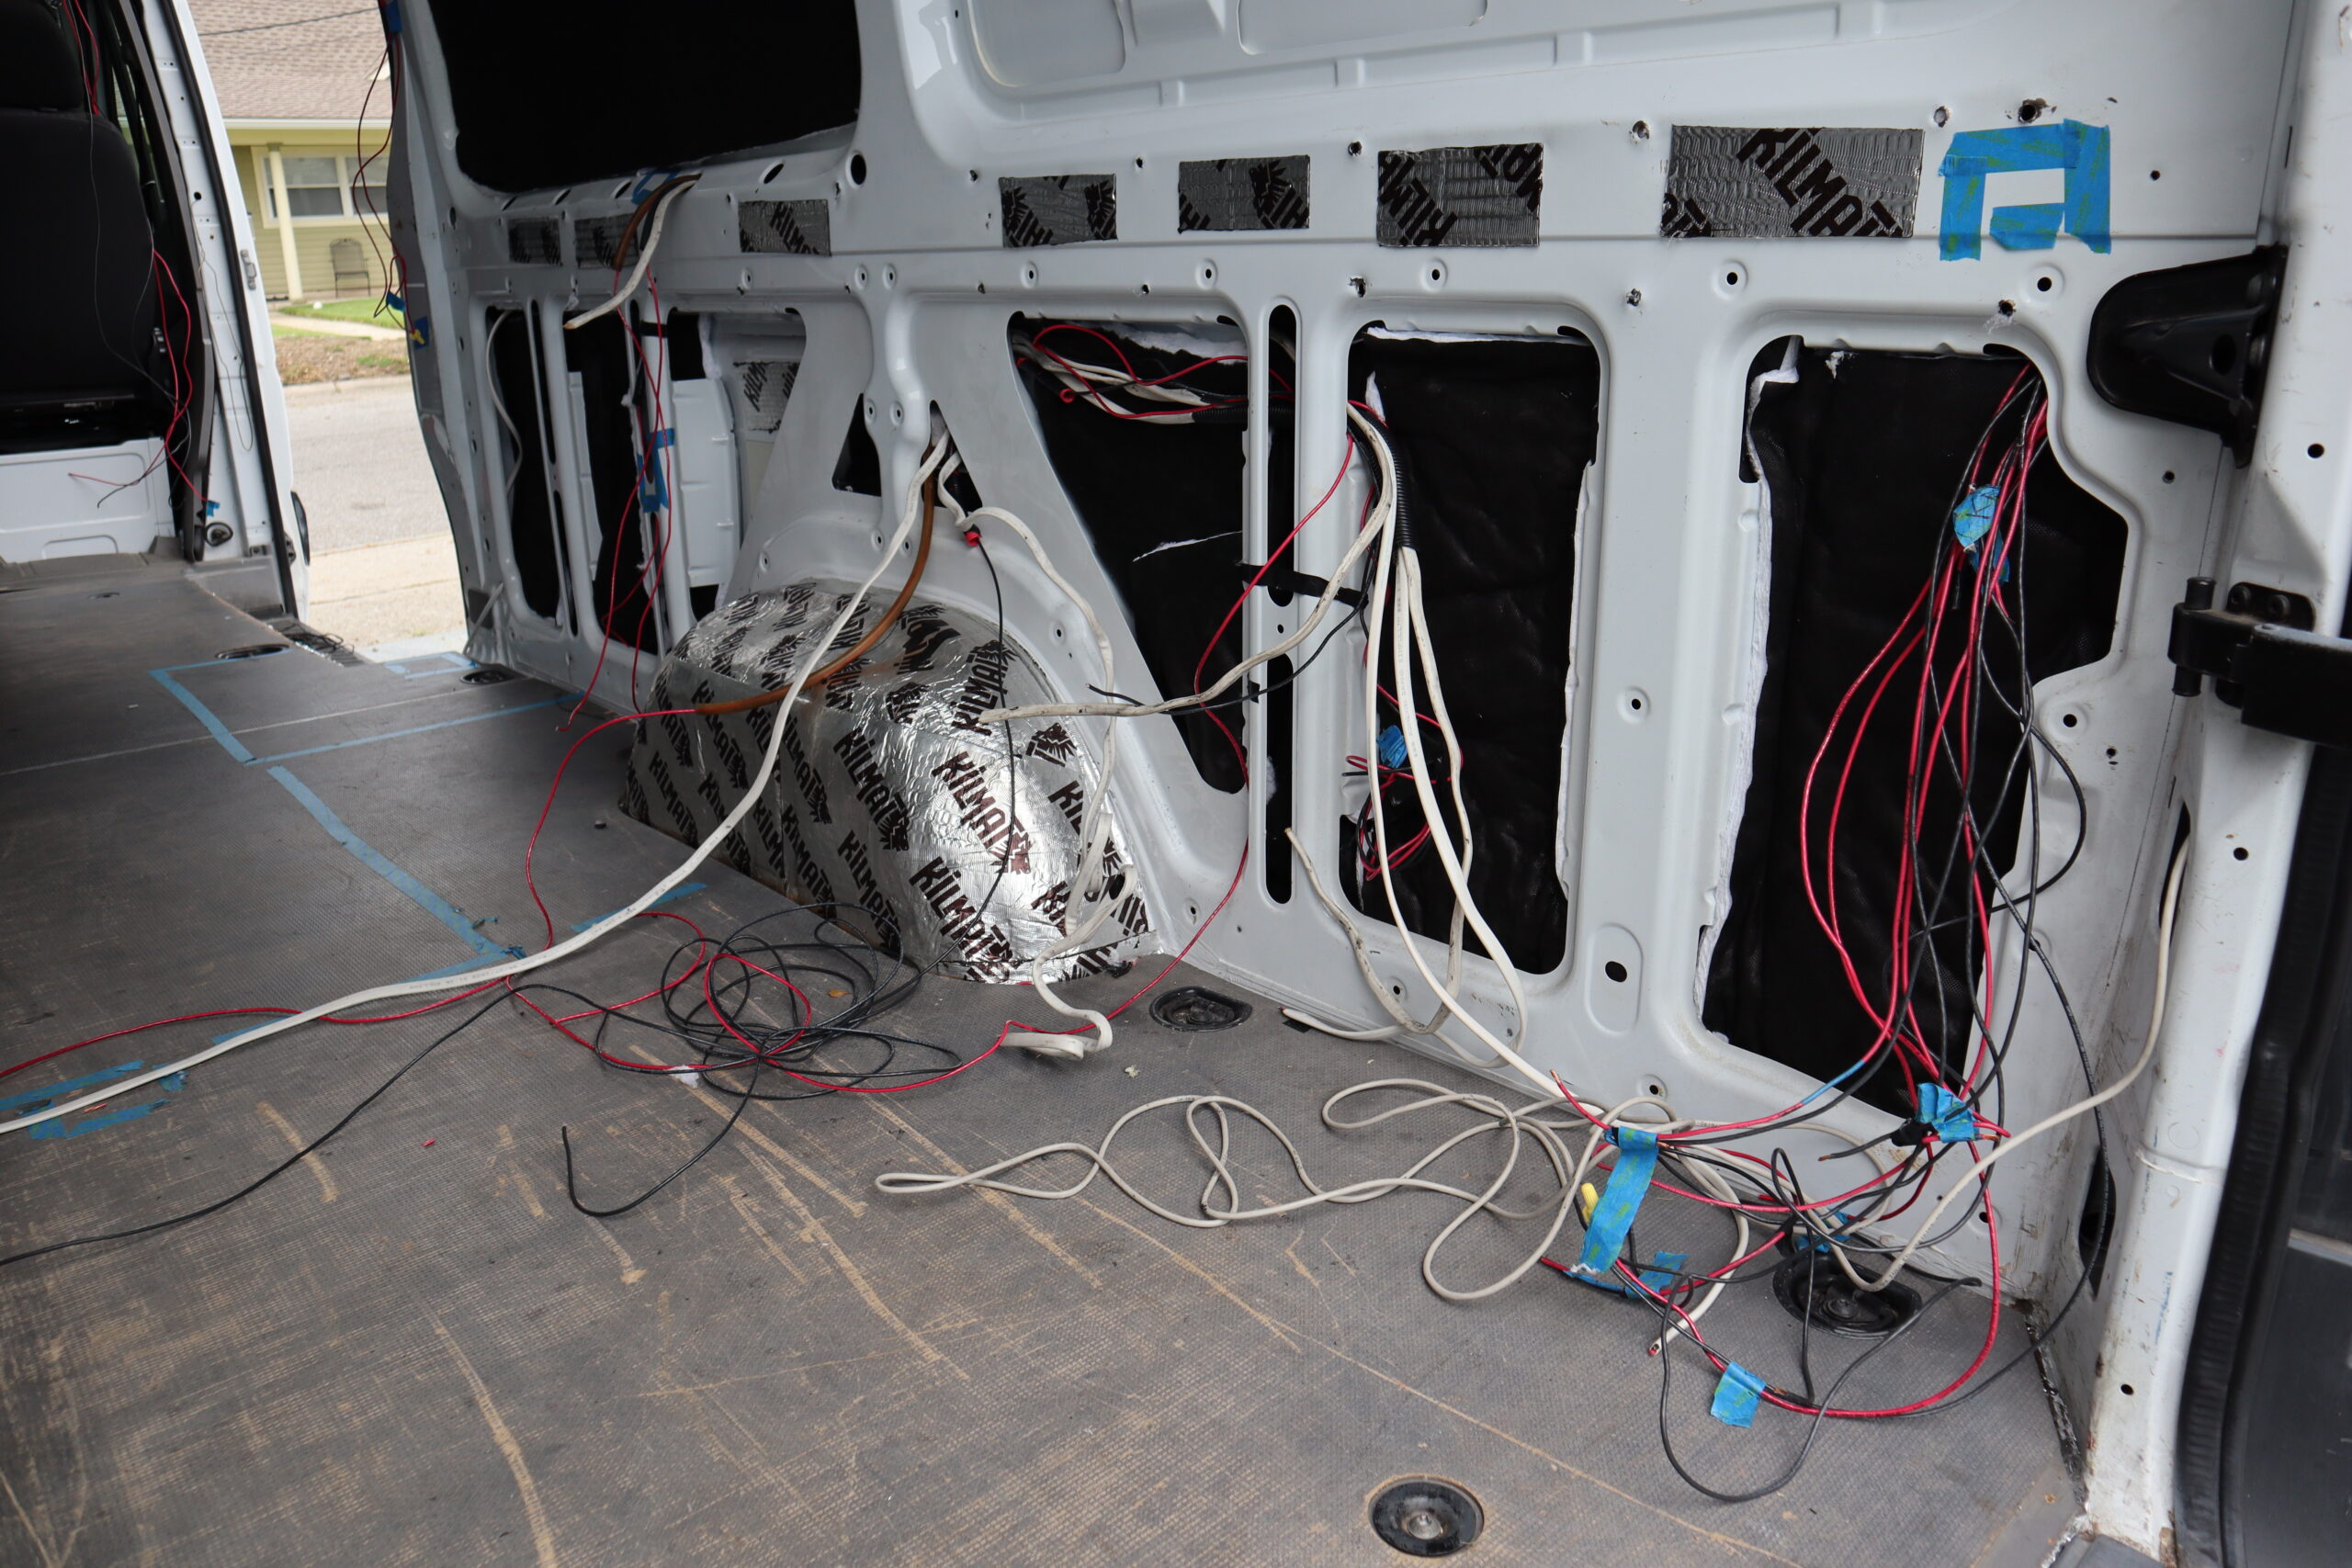
Routing the cables requires a lot of patience. The core concept is actually incredibly straightforward. You simply take a red positive wire and a black negative wire, and you run them from your appliance location directly back to the main battery.
We spent hours meticulously weaving these cables through the existing holes inside the factory metal ribs. Looking back, this was a massive headache. Therefore, if we ever do this again, we will definitely drill our own custom holes. Drilling new holes saves a lot of cable length and makes the DIY van electrical wiring process much smoother.
When you drive a camper van, the entire metal frame vibrates. If your exposed wires constantly rub against sharp metal corners, the friction will quickly strip the insulation. This exposed wire can easily spark and create a devastating electrical fire!
We absolutely do not want that to happen. Consequently, we invested heavily in protective split sleeves. Split sleeve is a black plastic coil that wraps securely around your vulnerable wires.
We strongly recommend buying several different sizes of split sleeves for your build. You should grab half-inch, three-quarter-inch, and three-eighth-inch sizes. You will inevitably encounter different cable bundles and various hole sizes, so having multiple sleeve options is critical for safety.
While we were actively pulling wires, a delivery driver dropped off some massive Amazon packages! Our brand new refrigerator finally arrived, but unfortunately, the driver left the box completely on its side. We really hope the compressor isn’t damaged, or else we will have to return it immediately.
Furthermore, our new water heater and our bathroom shower pan were finally delivered! We unboxed the 24-by-32-inch shower pan right away. Having the physical pan in the van allows us to confidently frame the bathroom walls and finalize our exact plumbing locations.
Because we had to battle relentless rain and wet weather here in New Orleans, this entire wiring phase took us roughly two and a half weeks to complete.
If you are intimidated by your own DIY van electrical wiring, please do not panic. It genuinely is not that difficult. Just take your time, trust your notes, and ignore how fast other builders complete their projects. Focus entirely on routing your wires safely and correctly.
Now that our cables are officially run, we are moving straight back to installing our wall insulation. If you have any wiring questions, leave them in the comments below! Be sure to subscribe and follow along as our van starts looking like a real home.