
Installing Bunk Slider Windows: Our Camper Van Experience
November 2, 2026









Affiliate disclosure: As an Amazon Associate I earn from qualifying purchases. If you buy through our links, we may earn a small commission at no extra cost to you. We only recommend gear and products we personally use and trust.
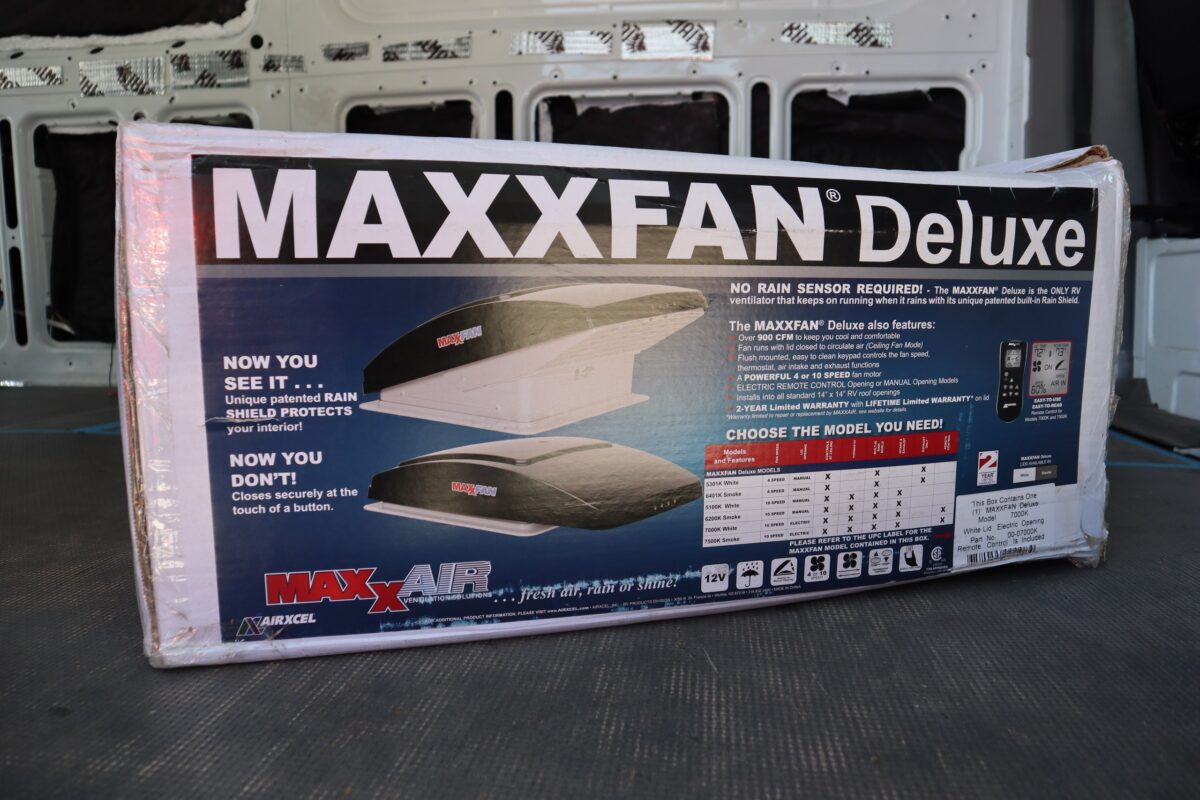
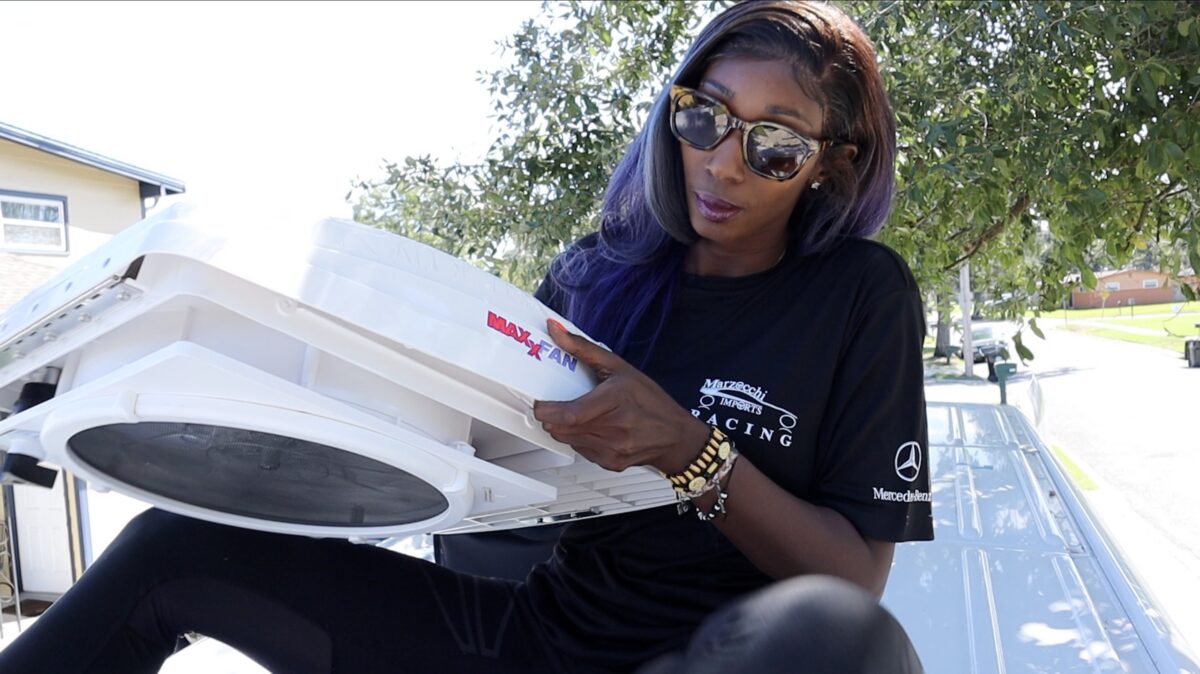
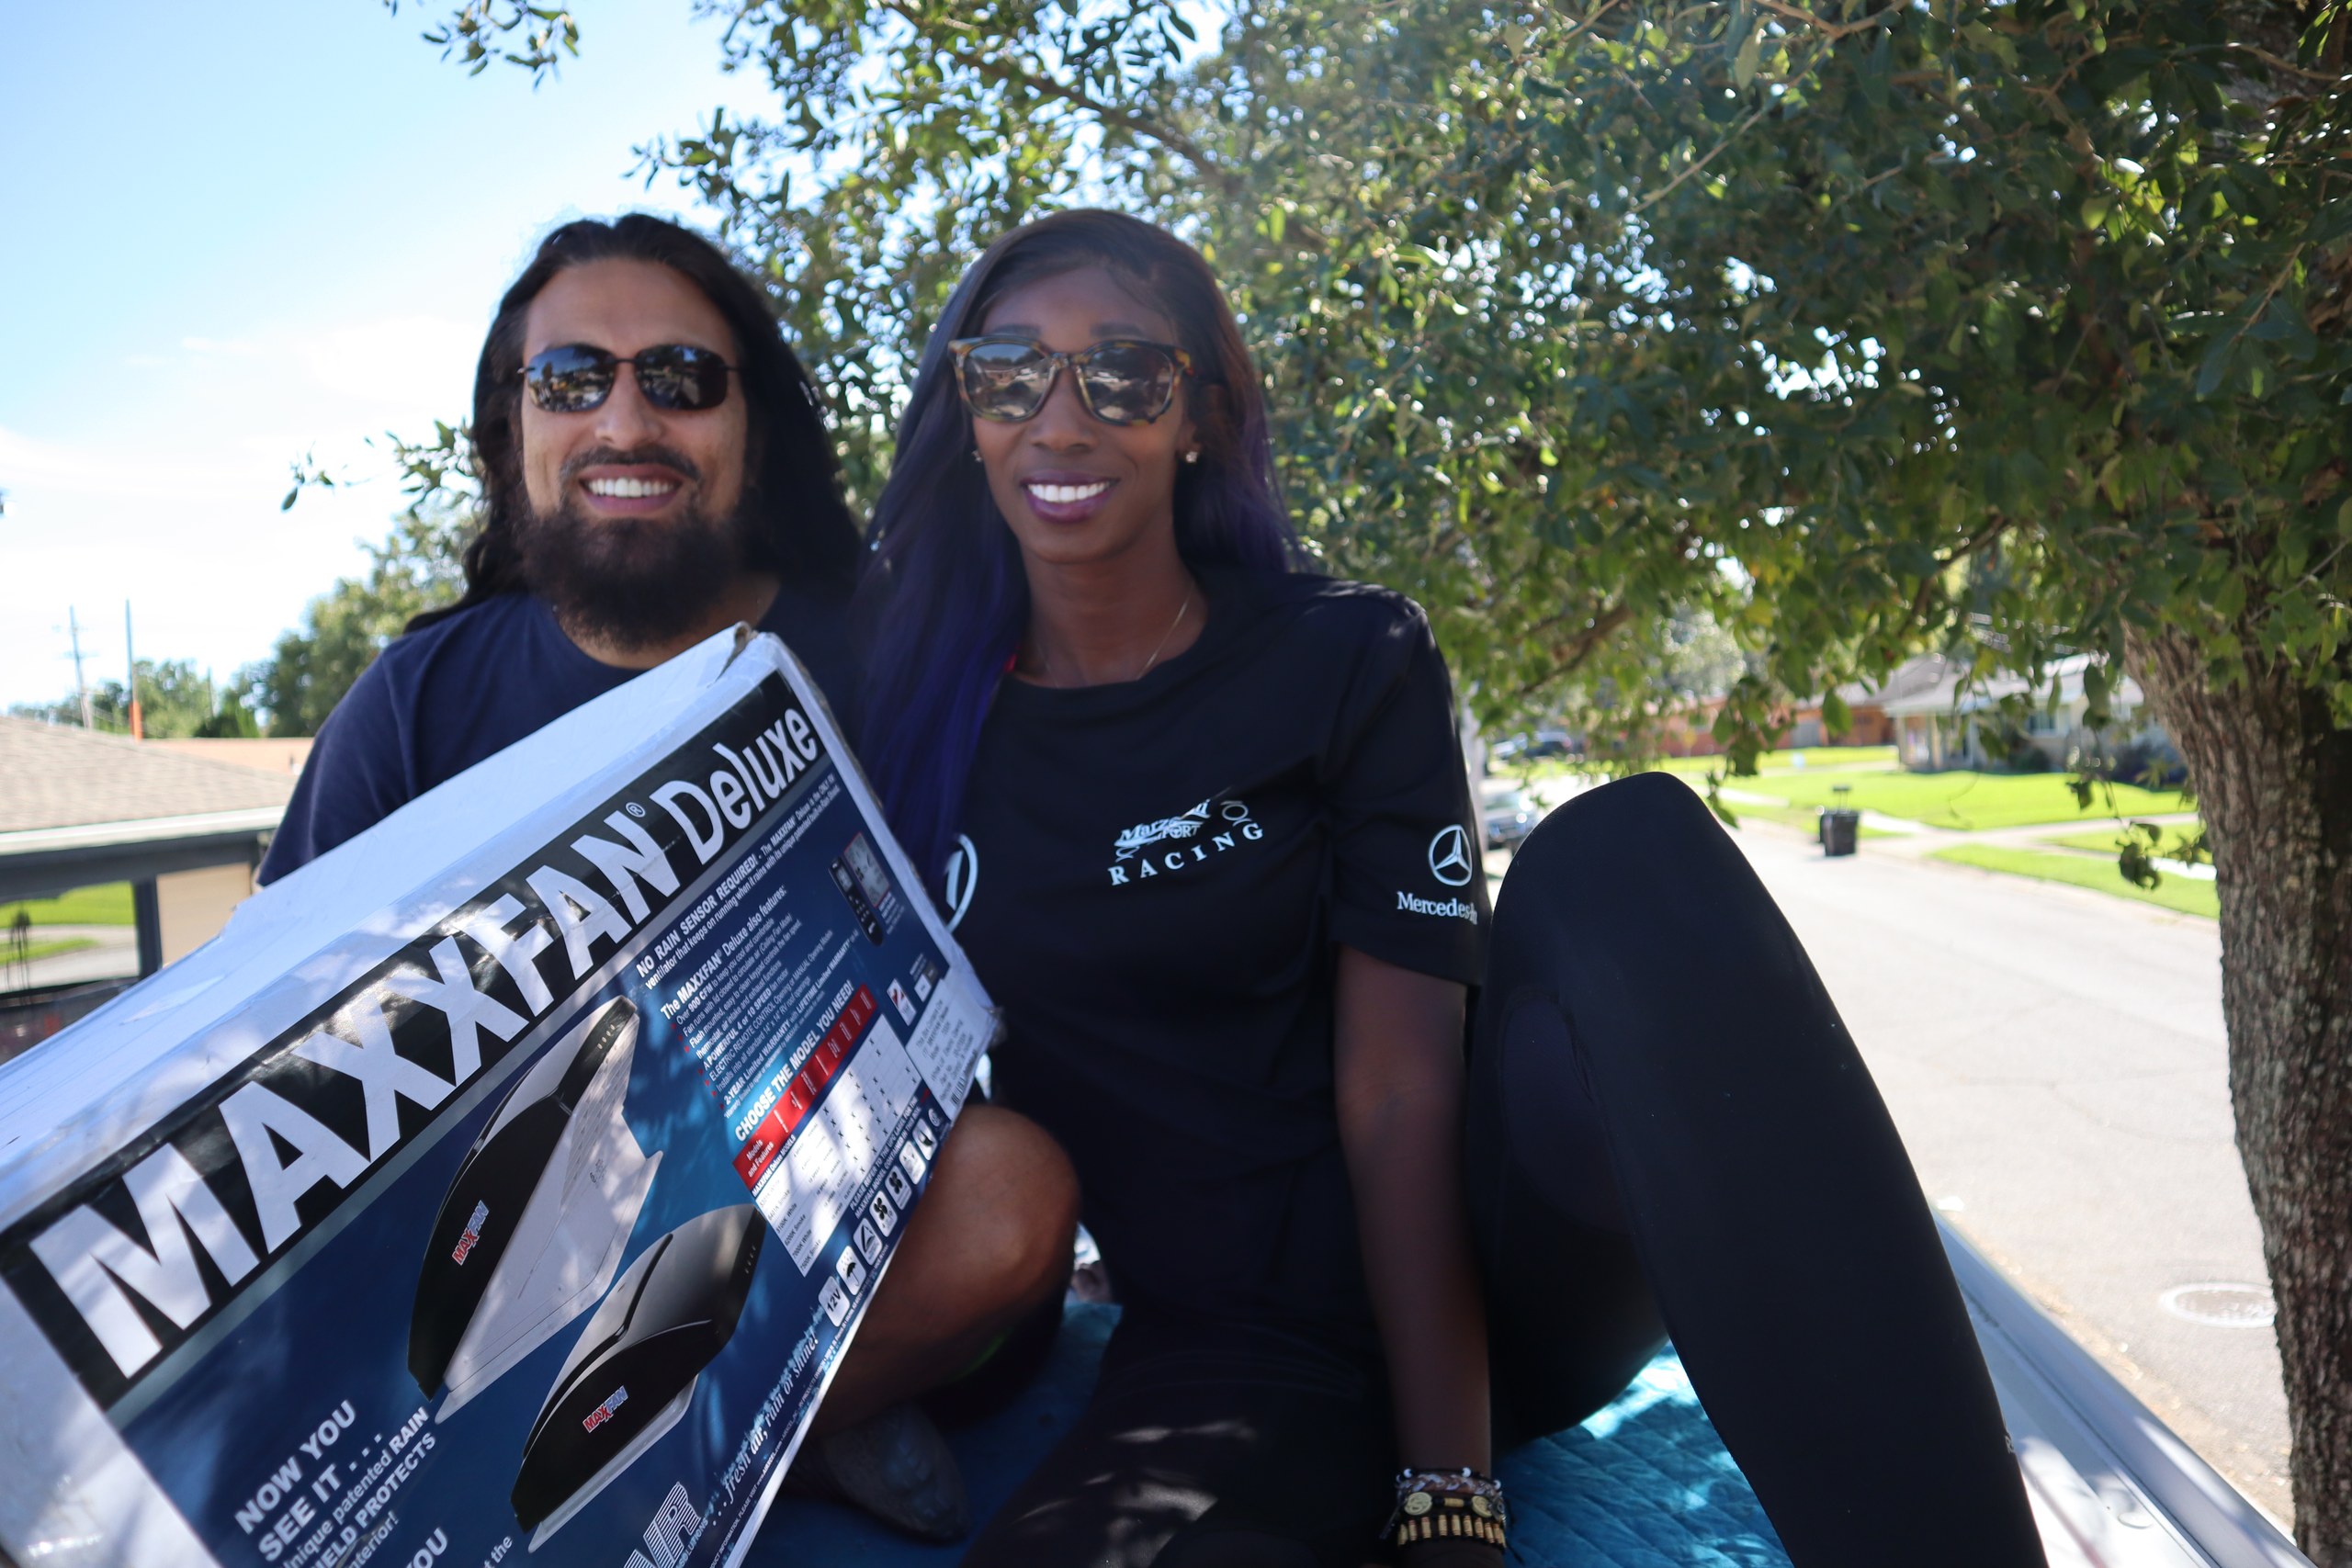
Installing a roof vent is a major step in our Sprinter van build, and we recently decided it was time to get our Maxxair Deluxe fan mounted on the roof. The fan came with a remote and with basically everything we needed, including the screws and a roll of butyl tape.
Getting on top of the van for the first time required us to put on a brave face. We had to deal with our emotions internally while we climbed up to tackle this installation, knowing that any mistake would be permanent. It was a bit nerve-wracking to be up that high, but we had a job to do and we were committed to finishing it.
We spent about two hours on the roof only drawing two boxes to get the placement exactly where we wanted it. It felt like we were just sitting up there, staring at the roof, trying to find the perfect spot. Because we did not have a factory template from Amazon, we had to get creative to make sure the opening was accurate. Since we were unsure of our initial measurements, it took some time to get the lines just right.
Our template measured 14 by 14 inches, and we used it to trace the exact spot for the fan. It was a slow, deliberate process of measuring, checking, and re-checking our lines because we knew we could not draw outside the lines. Making the hole too big was something we definitely wanted to avoid at all costs. We used painter’s tape to tape off the outline of the opening on the roof, the same way we taped the bunk windows.
Once we were confident in our layout and had the perimeter taped off, we were ready to make the cut. We used a drill bit set to make the four pilot holes in the roof before cutting with the jigsaw.
First, we drilled four pilot holes before using the jigsaw. It makes it much easier to maneuver the blade when you have a starting point on each end of the square
Secondly, We used a T-Shank jigsaw blade set for the cut. Once we got past those initial pilot holes, everything worked out pretty well.
After the hole was cut, we found there were some rough edges that needed attention. We used a file to clean up the cut opening and to file the tight corners so the fan base fit.
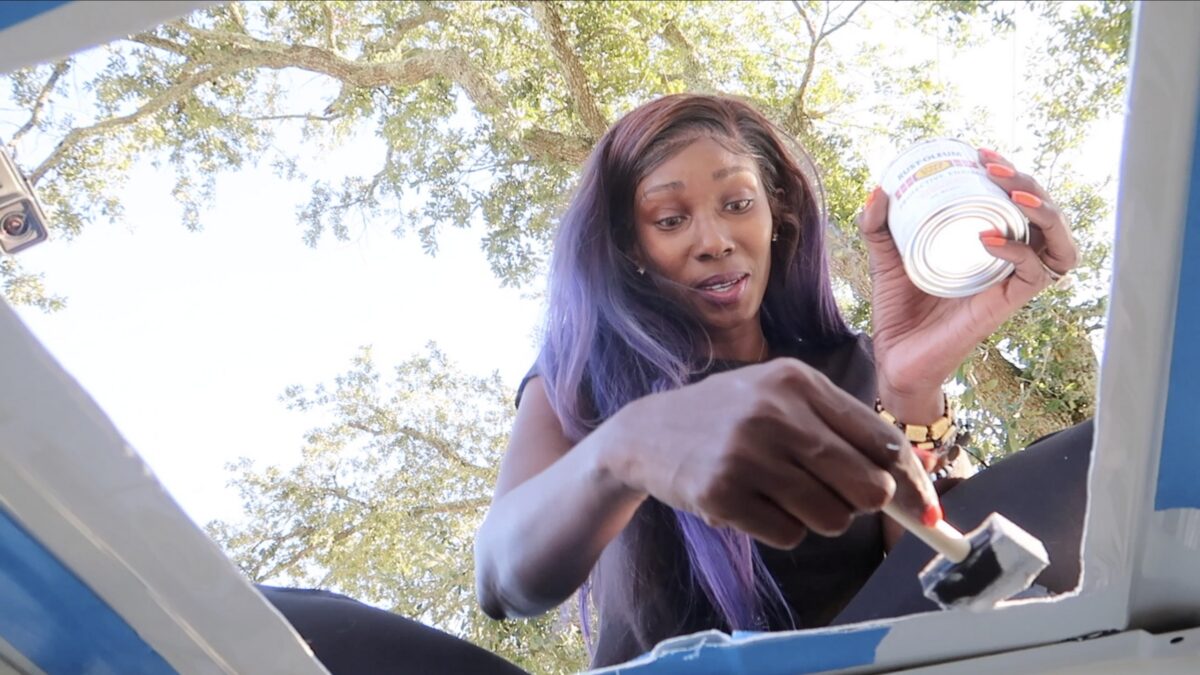
After cutting the 14×14 opening and filing down the rough edges, use the Wire Scratch Brush to knock off remaining metal shavings and rust. Then apply a protective coat of Rust-Oleum along the exposed raw edges to prevent corrosion before installing the fan flange.
Once the Rust-Oleum was on all the exposed metal, we took the painter’s tape off the roof. That left a clean surface for the butyl tape. We wanted the butyl tape to sit at the same height as the ribs so everything would be flush.
Eventually, we also learned that butyl tape can be tricky. The roll in the fan box was very hard to work with, so we used a second roll we had ordered.
The work ran over two days and the second day we finished the install. On day one, we threw a tarp over the half-finished install before we called it a day to go check on dinner, which we had left in the oven. When we returned to the roof on the next day, we were happy to see that the fan fit perfectly with no gaps, and we were ready to finish the installation.
We were a little overzealous with our butyl tape application, so we scraped the extra butyl tape off with a putty knife. We also tried to use Goo Gone to remove some pen markings from the roof, but Goo Gone did not take off the Sharpie marks.
Once the flange is secured into the roof with the butyl tape underneath, run a bead of Gorilla Waterproof Caulk around the entire outer perimeter and over every screw head to ensure a completely weather-tight barrier.
Finally, we secured the fan with the four screws. The drill was sent to us by WORKPRO, and it really came in handy for this project. We were relieved to see that all the holes lined up once everything was finalized. It felt great to have the fan installed and ready to go.
Related reading:
What has been the most challenging part of your own van build so far?