

Sprinter Van Sound Deadening: Kilmat Installation
October 5, 2026Affiliate disclosure: As an Amazon Associate I earn from qualifying purchases. If you buy through our links, we may earn a small commission at no extra cost to you. We only recommend gear and products we personally use and trust.

Sprinter Van Sub Floor Installation & Floor Insulation
Sprinter Van Subfloor Installation & Floor Insulation
Welcome back to the van build! It has been a wild week here in New Orleans. As we were prepping for our Sprinter van subfloor installation, we were actively tracking two separate storms—Hurricanes Laura and Marco—heading directly toward us. While the weather threatened to slow down our progress, we managed to push through and get some major work done inside the van.
Today, we are finally laying down our floor insulation, reinstalling our factory subfloor, and even doing a massive cosmetic upgrade to the exterior of the van.
Choosing Reflectix for Floor Insulation
Lately, people have been asking us how we know exactly what to do for this build. Honestly, we just graduated from “YouTube University”! We have spent hours watching other builders, and we feel confident enough to grab our materials and tackle this project ourselves.
For our Sprinter van subfloor installation, we made a slightly controversial choice. During our last trip to Home Depot, we decided to use Reflectix for our base floor insulation. We know a lot of professional van builders actively advise against using Reflectix on the floor. However, this is our DIY van build, and there are multiple valid ways to insulate a floor!
Our plan is simple: lay down the Reflectix, spray some adhesive, and place the original quarter-inch factory plywood directly over it.
The Insulation Process
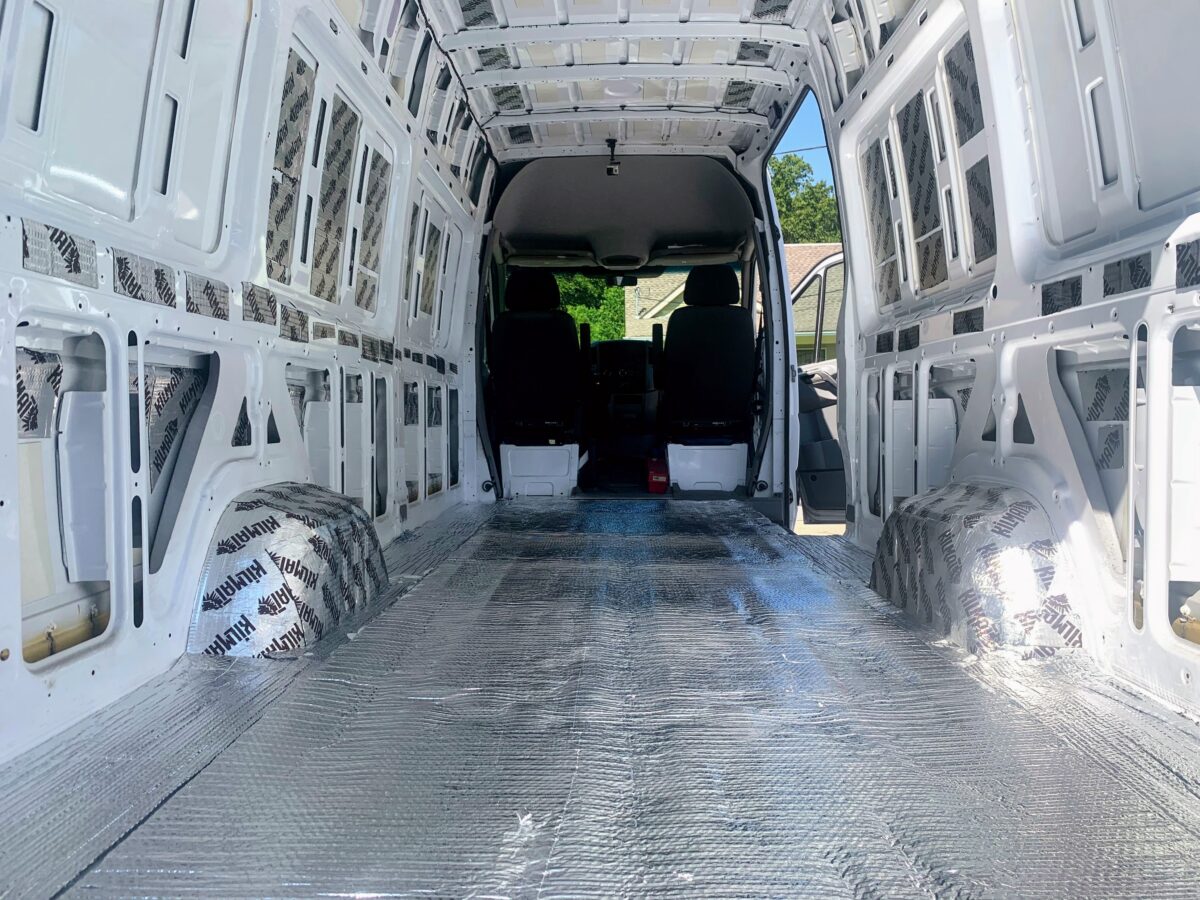
Laying down the Reflectix felt a lot like putting together a giant silver puzzle. We started by rolling out a massive sheet directly down the center of the van. Once the middle section was secure, we had to get creative.
We spent a lot of time cutting smaller pieces of insulation to perfectly fill in the side gaps and weird edges along the van walls. We used a strong spray adhesive to lock the material down. The spray adhesive proved to be incredibly sticky, and the Reflectix adhered beautifully to the metal floor. For our first attempt at floor insulation, we felt incredibly proud of the result.
The Sprinter Van Subfloor Installation Challenge
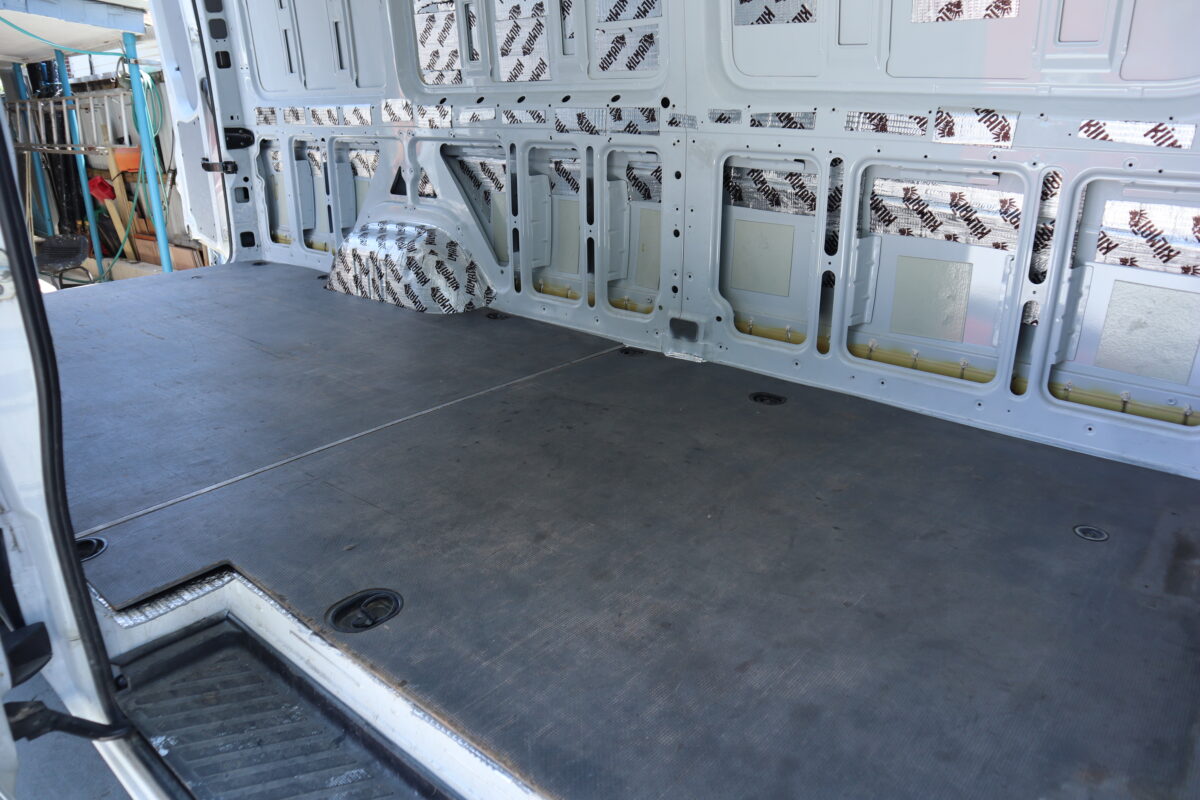
Once the insulation was completely down, it was time for the actual Sprinter van subfloor installation. We grabbed the large sheets of factory plywood that originally came with the van. The heavy wood is designed to compress the Reflectix and create a solid walking surface.
However, this is where we ran into a massive headache. We had to anchor the wood down using the original factory bolts and holes. We grabbed our drill, torque wrench, and ratchet, but lining up the thick wooden panels with the tiny, hidden bolt holes underneath was incredibly difficult.
At one point, we literally had to pull the entire floor back up, slide it carefully into the groove, and try to align the holes all over again. It was an incredibly tedious and frustrating process, but we eventually locked every single bolt securely into place.
Mapping Out the Van Layout
With the floor officially installed, we could finally visualize our future home! We grabbed a roll of blue painter’s tape and started mapping out our actual floor plan right on the wood.
This is probably the third or fourth layout design we have created since starting this journey. We carefully measured the exact width and height of our platform bed, and mapped out the exact dimensions for our interior shower pan. Walking around the taped lines made the entire tiny home concept feel incredibly real.
We also received a massive piece of good news. Our main wall insulation, which was originally severely backordered, arrived on our doorstep completely early! We are incredibly excited to start stuffing the walls later this week.
Upgrading the Sprinter Grille and Emblems
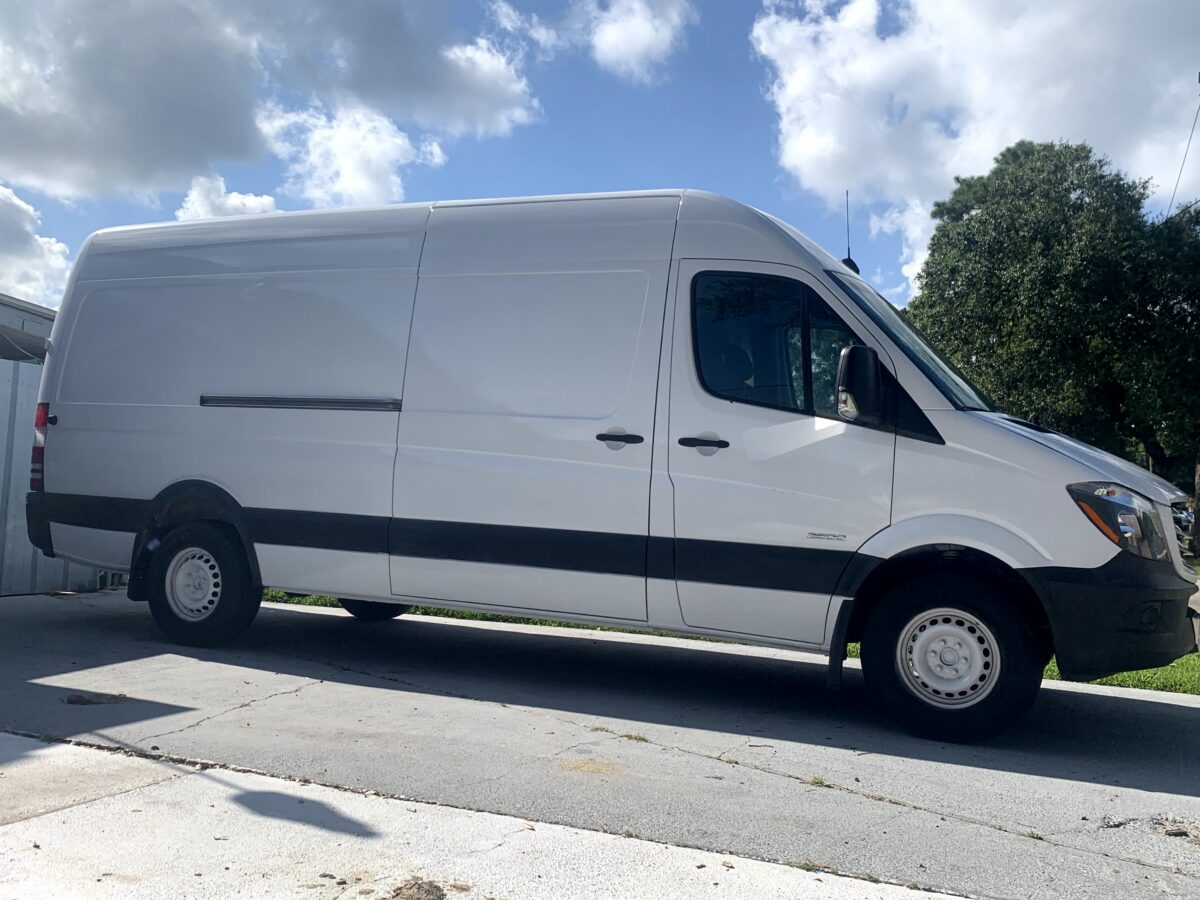
Since we successfully completed the Sprinter van subfloor installation, we decided to end the day with a fun, cosmetic project. The rear emblem on our van was missing, and the front grille looked incredibly faded.
We ordered a brand new, all-black grille and a shiny silver Mercedes emblem directly from Sprinter Depot. They had the absolute best reviews and prices, and the massive box arrived at our door in just two days.
To fix the back doors, we simply grabbed a T25 Torx screwdriver and screwed the new rear emblem into place.
Installing the New Front Grille
Replacing the front grille required a bit more muscle. First, we had to pop out the small plastic retaining pegs holding the old grille to the frame. One specific peg put up a massive fight, but we managed to remove it without snapping the plastic.
Once the pegs were out, we realized the bottom of the grille was severely stuck to the metal frame. The trick here is to not be afraid to pull! You have to yank the plastic firmly to separate the grille from the metal clips.
After completely removing the old, faded plastic, we popped the stunning new black grille and silver emblem into place.
The before and after difference is absolutely staggering[cite: 3]. The van finally looks sleek, updated, and ready for adventure. We accomplished a massive amount of work today, from surviving hurricane warnings to insulating the floors.
Next week, we are finally going to tackle the wall insulation and start framing out the bed. Be sure to subscribe to follow along with our complete DIY build!