

How To Find The Right Van For Van Life: Our Journey in Phoenix
September 18, 2026







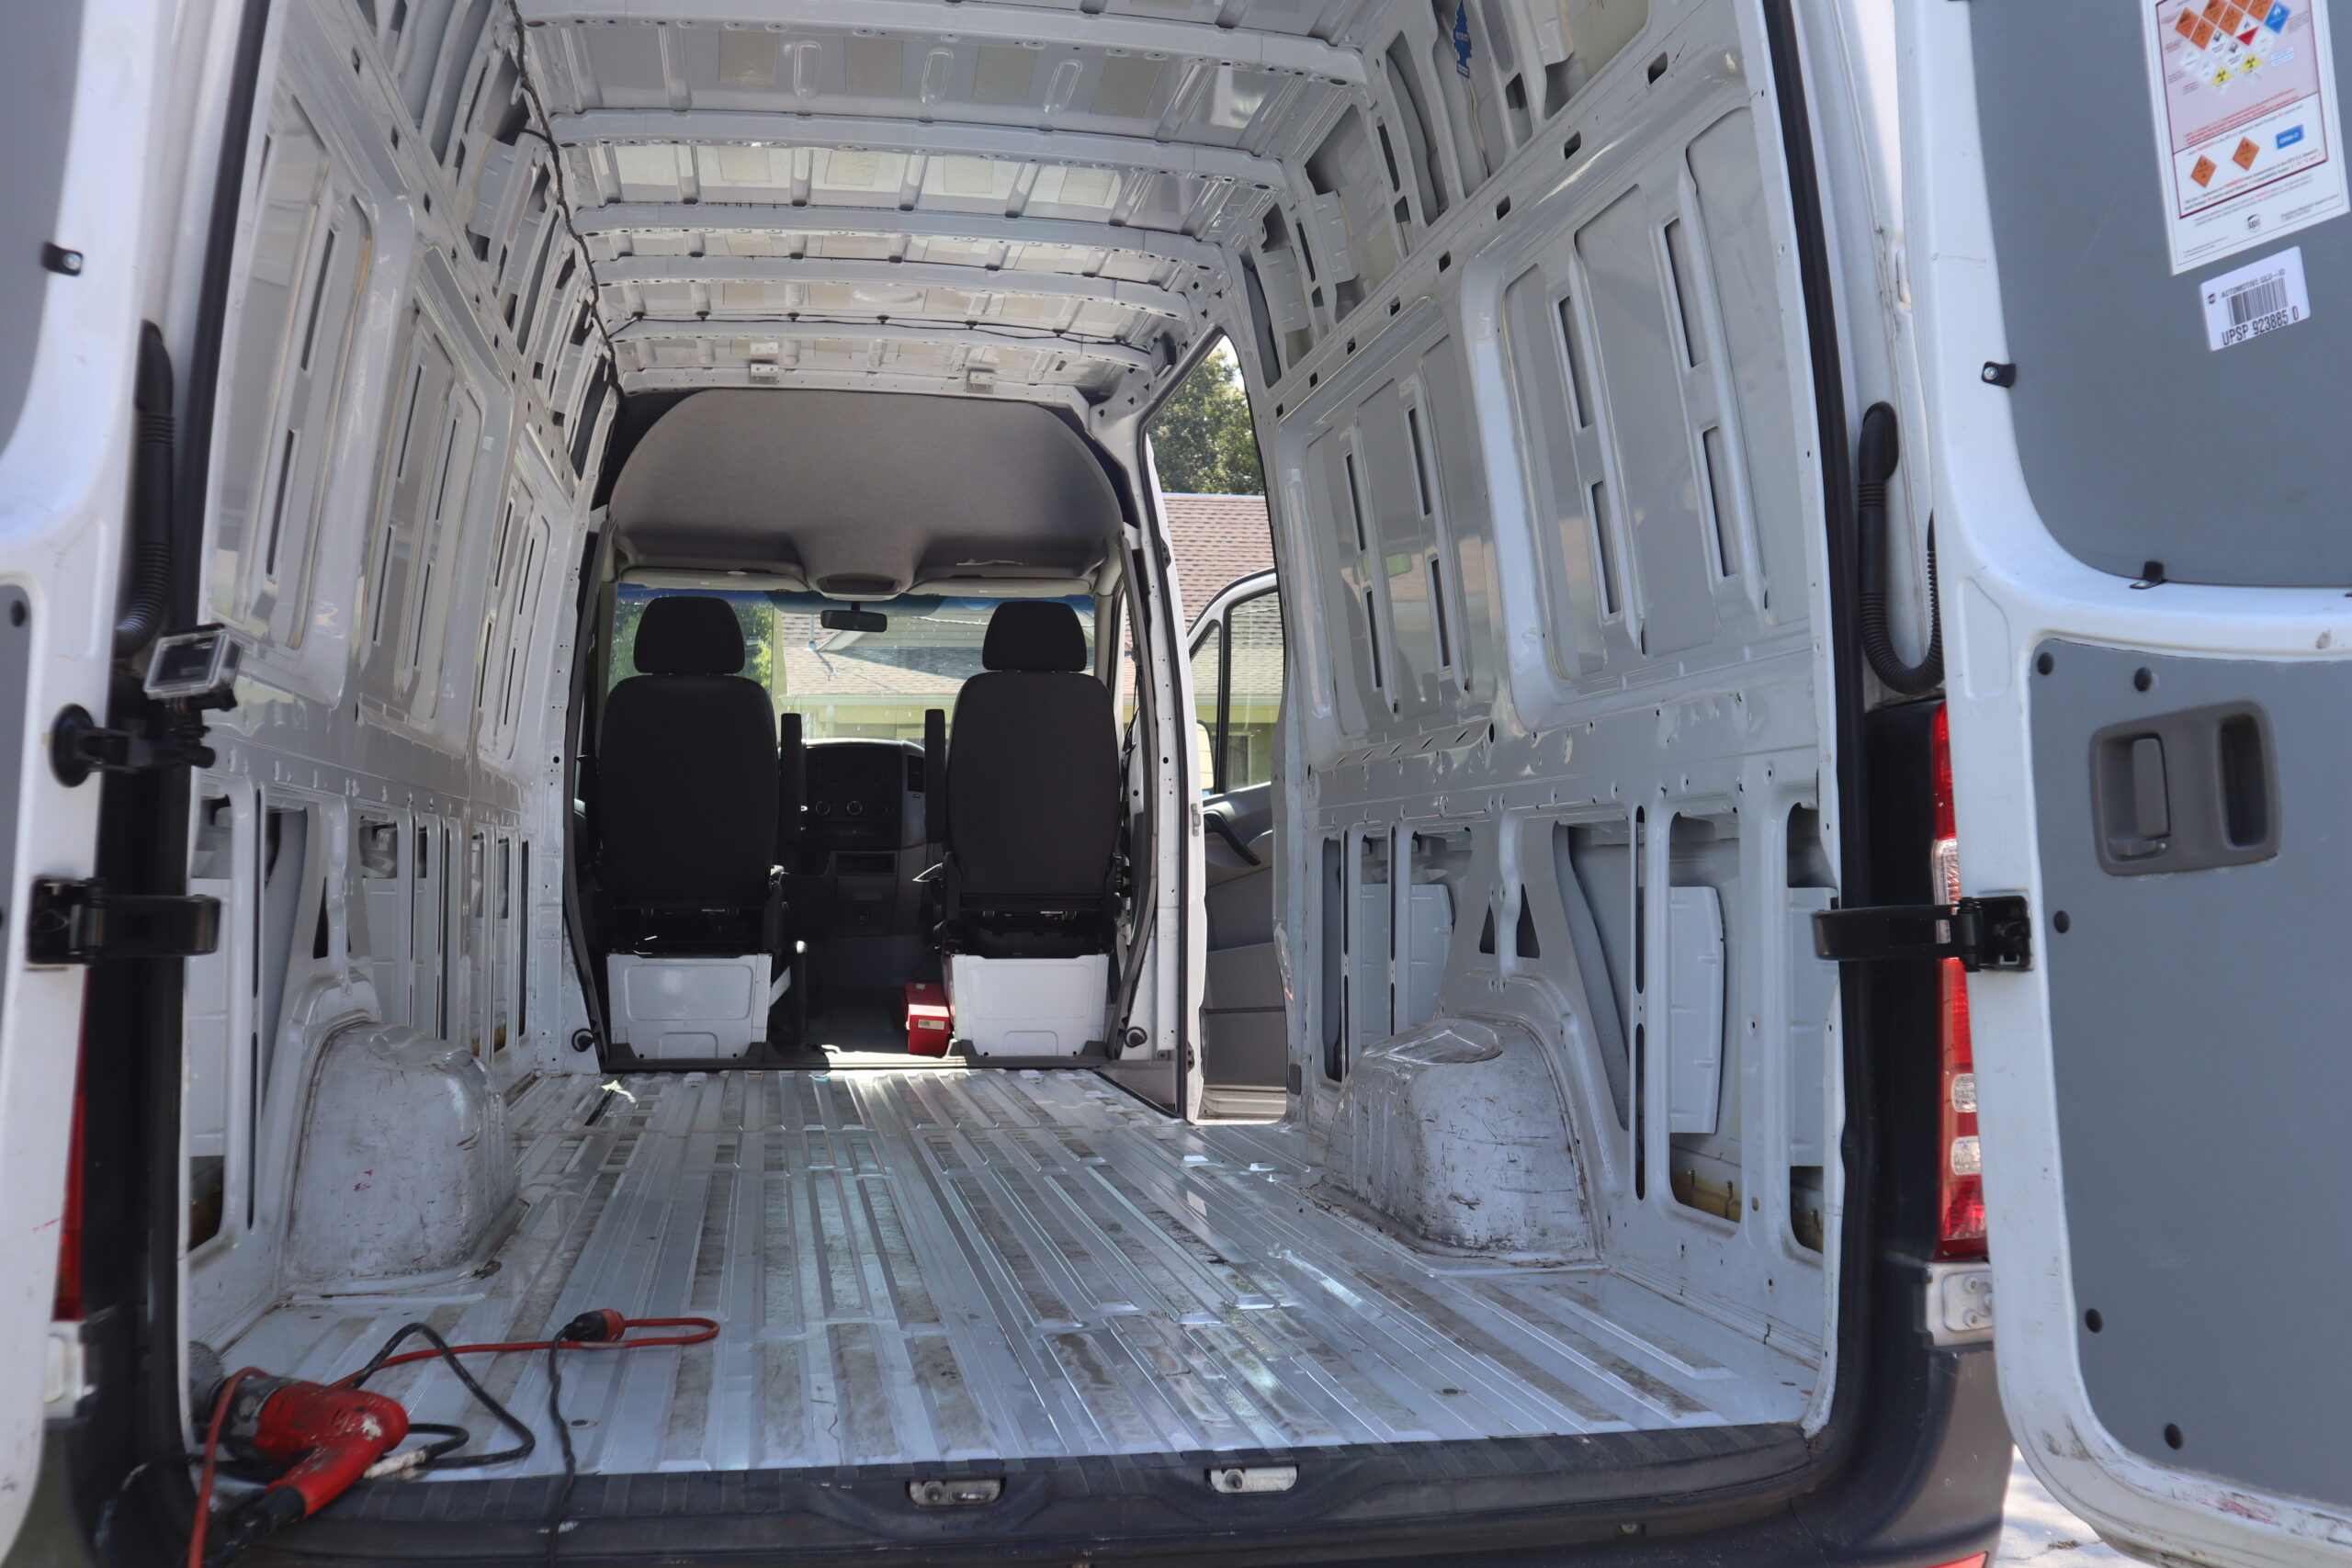
The first day of a DIY van build always sounds romantic until you actually start sweating, second-guessing your tools, and making unexpected trips to Home Depot. Recently, we kicked off our van life journey by tearing into our 170-inch wheelbase Mercedes-Benz Sprinter 2500. We realized quickly that a proper Sprinter floor removal requires a lot of patience, muscle, and problem-solving. Consequently, this exciting work escalated into an intense session of pulling panels and hunting down hidden rust.
We are by no means professional van builders, and we definitely don’t pretend to be. However, we are learning this process step-by-step, right along with everybody watching.
Before we swung the hammers, we had to get the van home. Fortunately, our Sprinter ran like an absolute champ. In fact, we drove it for 24 hours straight, switching off driving duties every two hours. Therefore, this long initial drive gave us massive confidence in our new home-on-wheels before the real demolition started.
We started our demolition around 10:00 AM in the heart of Louisiana. Because it was mid-August in New Orleans, the temperature hovered around 98 degrees outside. Furthermore, it felt significantly hotter trapped inside the metal cargo area. Nevertheless, we came mentally prepared for the heat, the sweat, and the heavy lifting.
Meanwhile, we set up our vlog cameras and phones because we wanted to document every single mistake and victory. Since we are actively learning through “YouTube University,” we want to share this raw process with you exactly how we experience it.
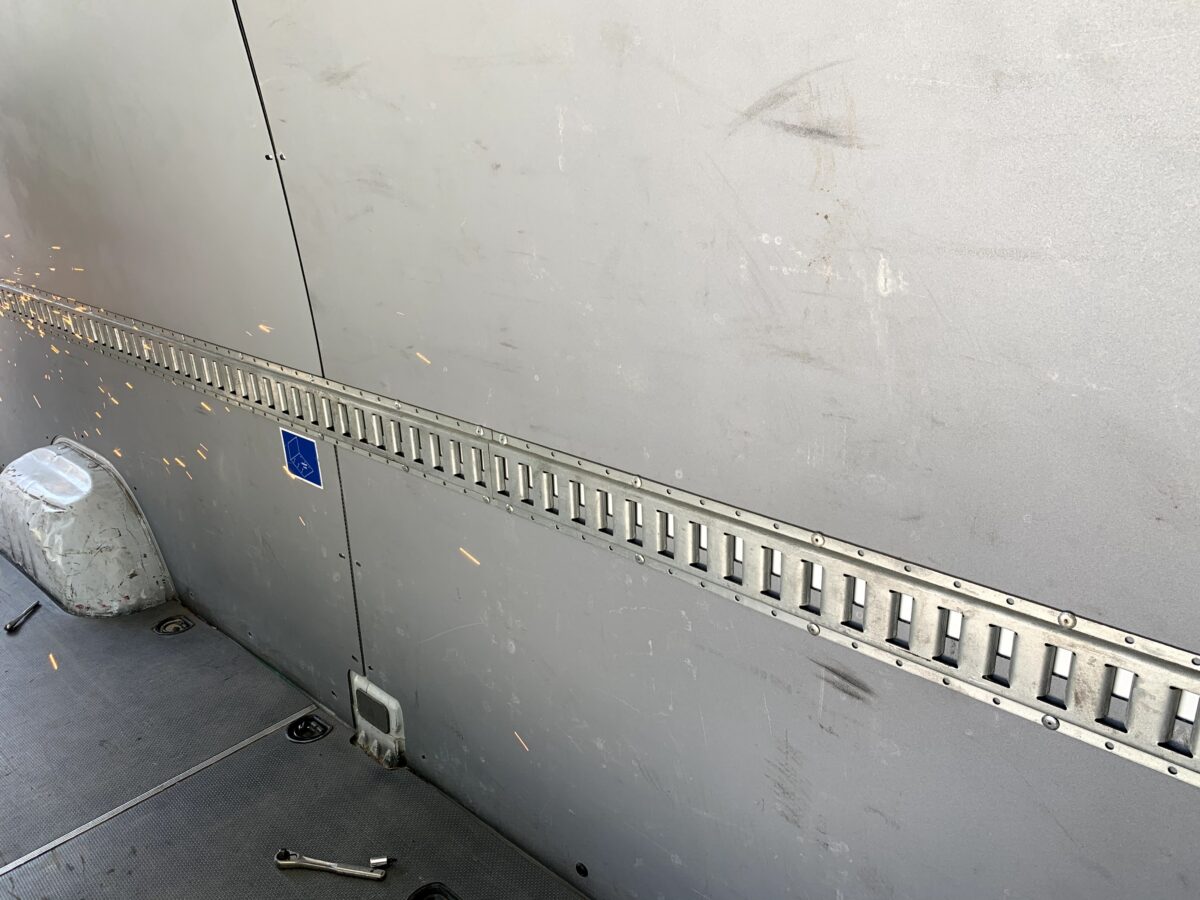
First, we needed to get the interior walls and upper factory panels out of the way. We grabbed a T25 star bit and started removing the screws. However, the side door immediately presented a frustrating problem. Two specific screws sat in a terrible spot, so we had to get creative to slide that panel free.
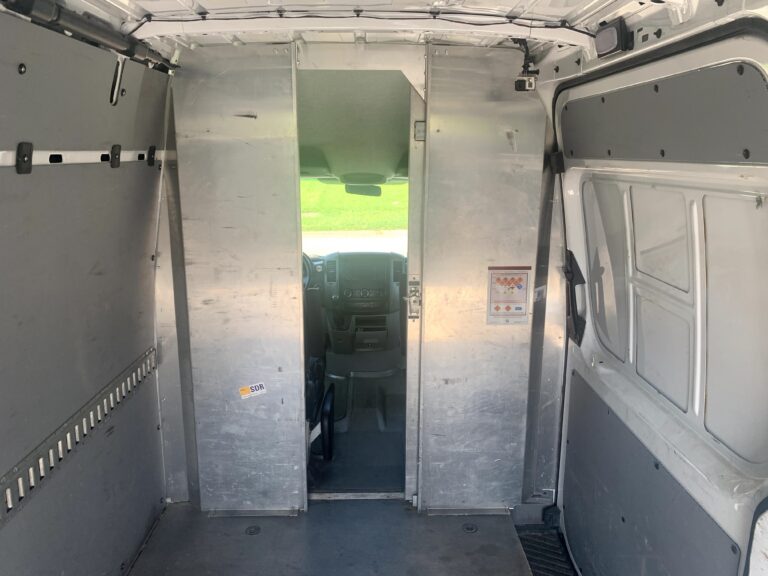
Next, we tackled the bulky partition separating the cab from the cargo area. Initially, we lacked the correct tool to remove it, which forced a brief pause in our momentum. Once Faustino tracked down the right piece, we took the makeshift wall down effortlessly. Now, the inside of the Sprinter finally looked wide open and ready for the main event.
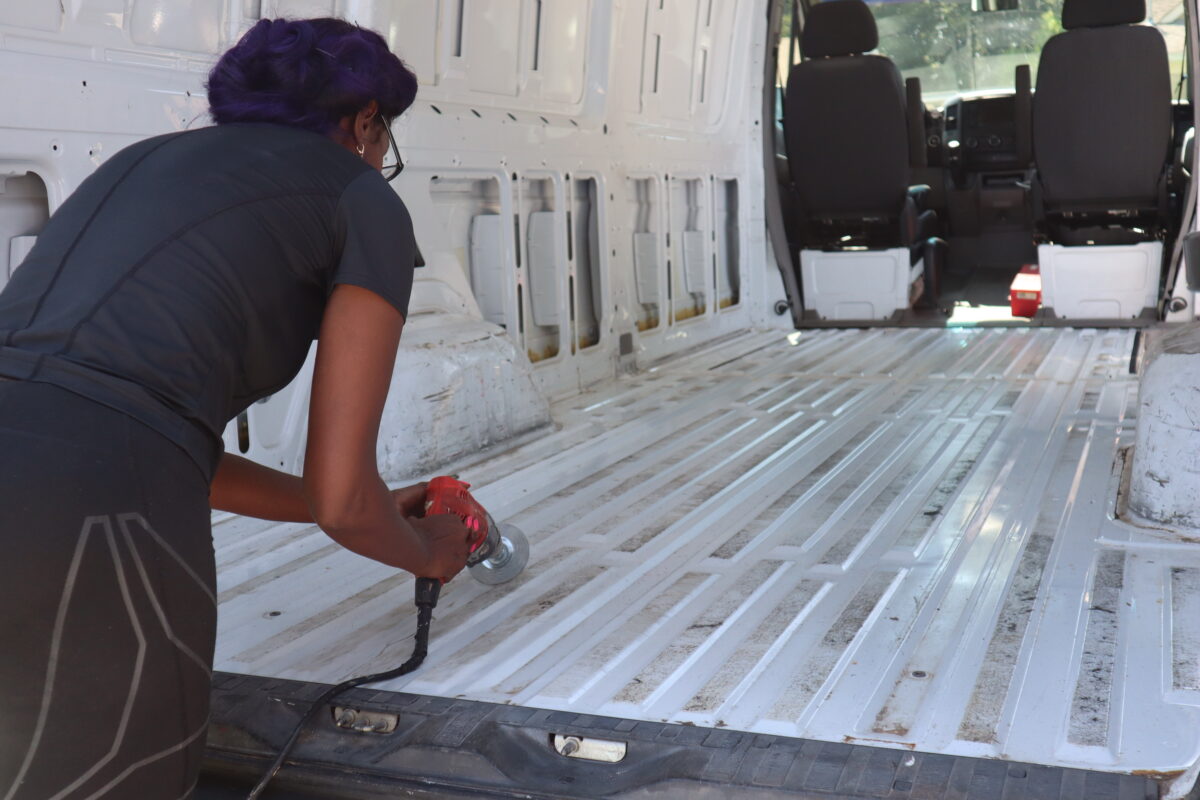
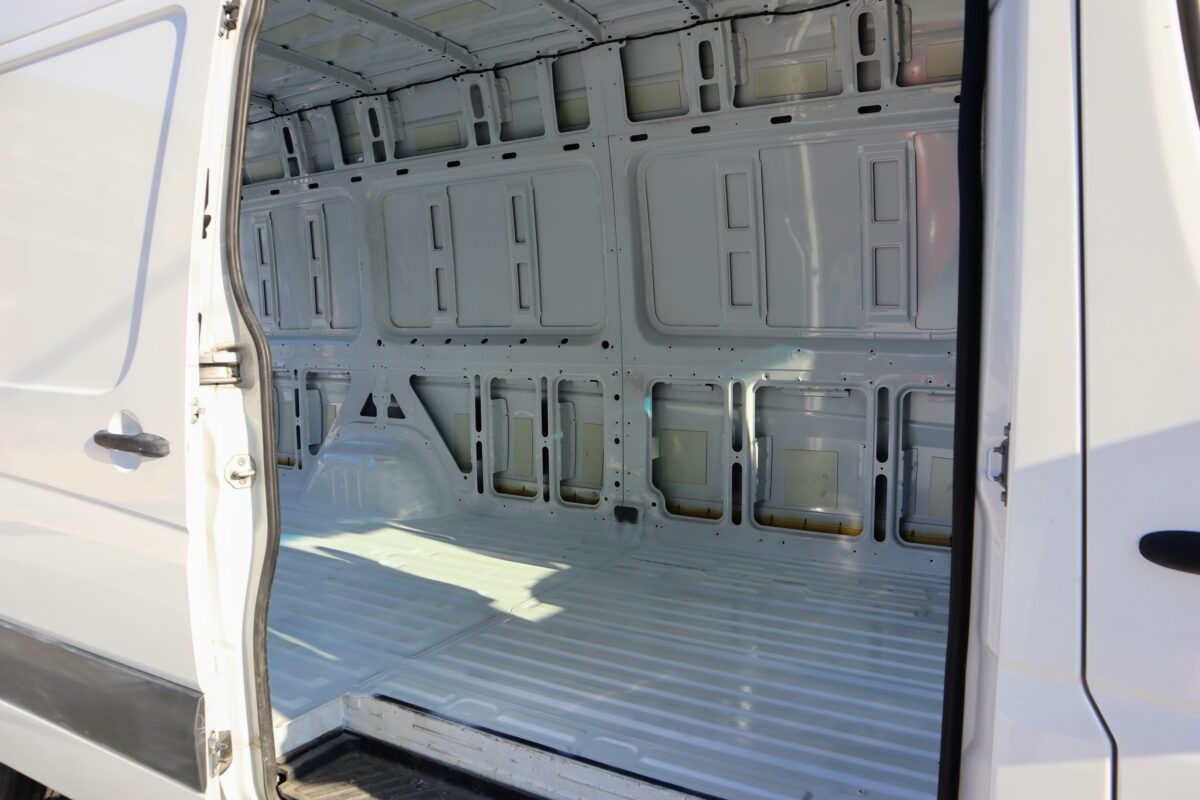
After clearing the walls, we focused on the most daunting task of the day: pulling up the original factory floor. Because the manufacturer glued it down with thick adhesive, it fought us every step of the way. Eventually, we used heavy gloves and pure brute force to muscle the heavy flooring out the back doors. Then, we swept away the decades of dirt hiding underneath. This crucial step of our Sprinter van floor removal exposed the bare metal floor, stubborn adhesive strips, and a few grim spots that demanded our immediate attention.
Naturally, exposing the bare metal meant a mandatory trip to Home Depot. We initially thought two cans of primer would cover the job. Instead, we quickly realized we needed much more. We bought Rust-Oleum spray paint, GE silicone for patching holes, and a crimped wire wheel attachment for our drill.
Our plan involved using the wire wheel to strip the leftover adhesive off the metal. Unfortunately, this idea failed miserably. The drill attachment proved heavy and exhausting to use. More importantly, instead of lifting the old glue, the wheel just smeared it around and scratched the pristine paint underneath. Therefore, we stopped immediately before we caused any permanent damage.
We finally called it quits around 5:00 PM. Although we felt completely exhausted, we accomplished a massive amount of work. We successfully removed the walls, floor, and partition, cleaned the exposed metal, and safely treated the hidden rust spots.
Ultimately, the first day of a van build isn’t about knowing every answer; it is about preparing your canvas for what comes next. If you want to see the exact tools, rust treatments, and filming gear we used to survive this build, check out our curated Amazon Storefront.
Next up: tackling the side panels and finally laying down that long-awaited subfloor!